Building a MPCNC part2

So I spent some hours on weekends to advance further into my CNC adventure and it came out pretty satisfying.
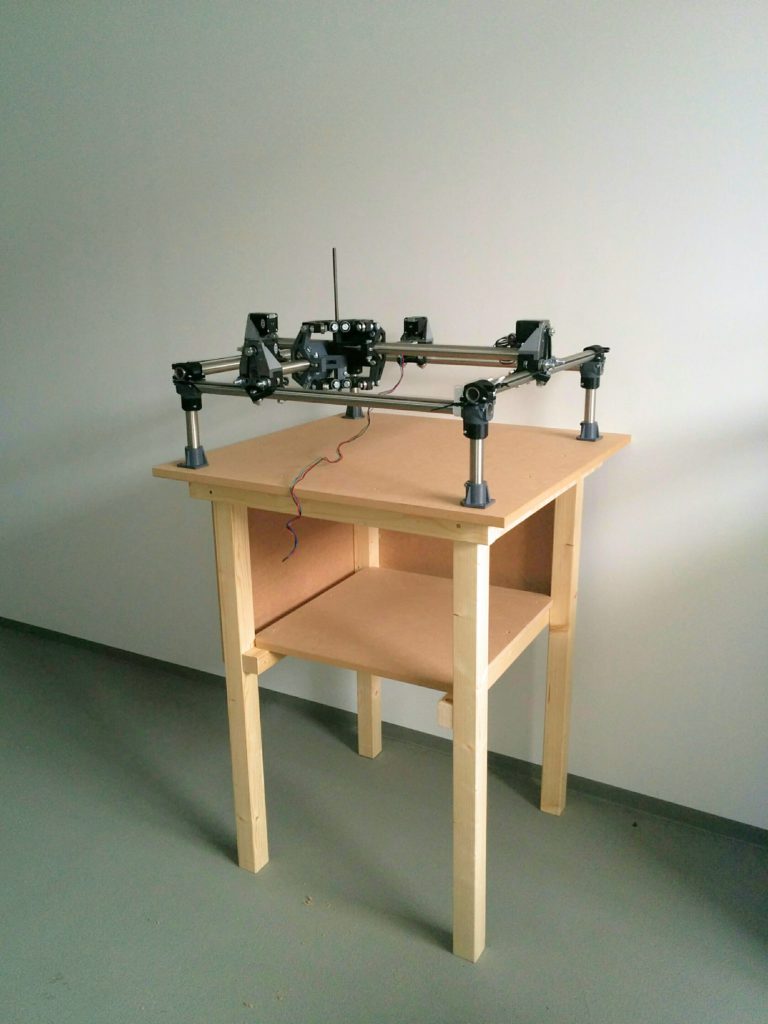
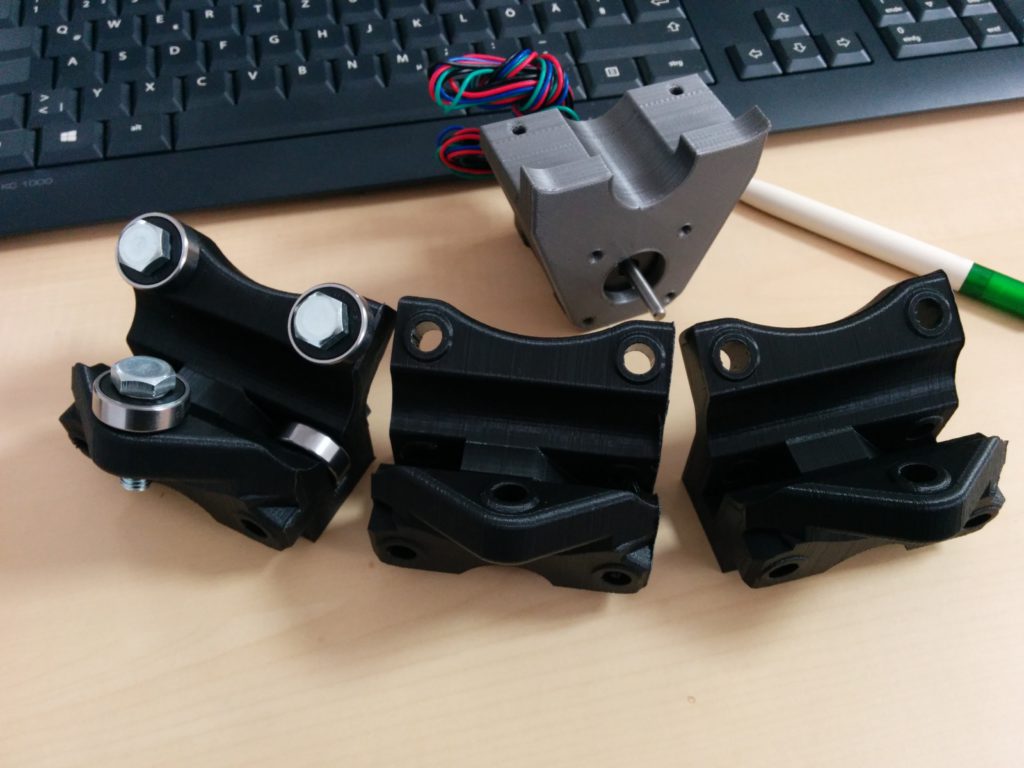
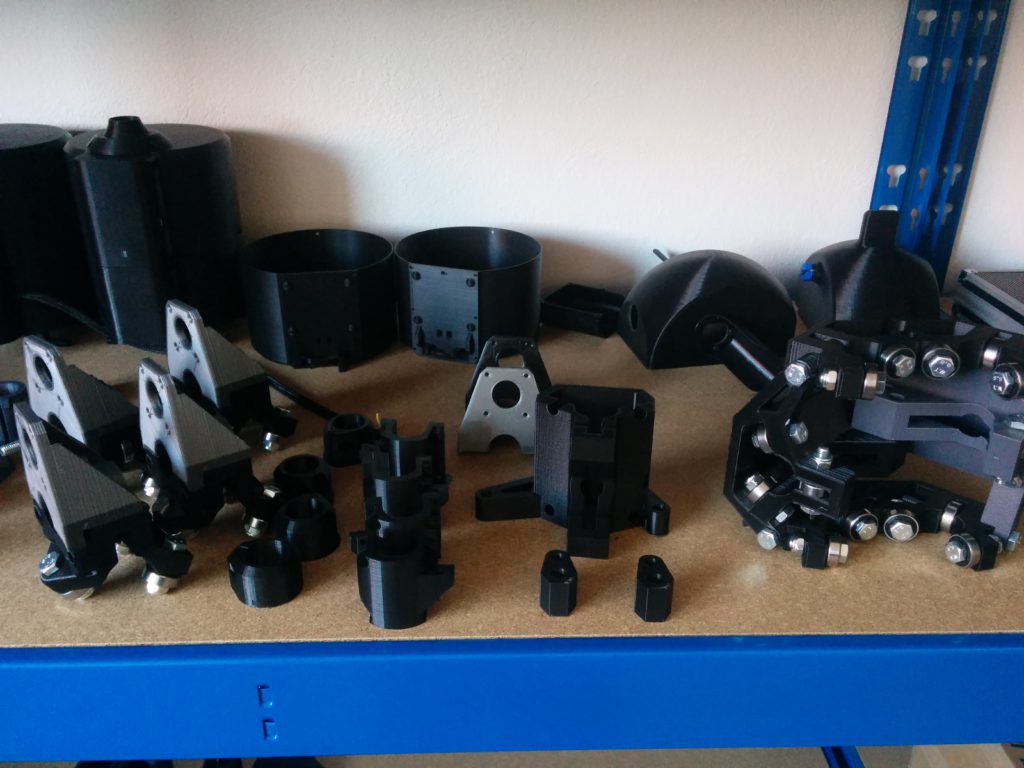
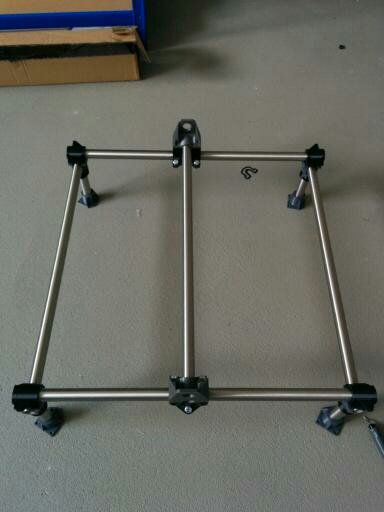
img_20160916_170838

Simple CNC stand

Before wiring everything together, I saw the need of a good platform, so I don´t have to wire it again once I found a suitable platform. It took around 6 hours to build this from standard „Baumarkt“ supplys.

img_20160922_1536352

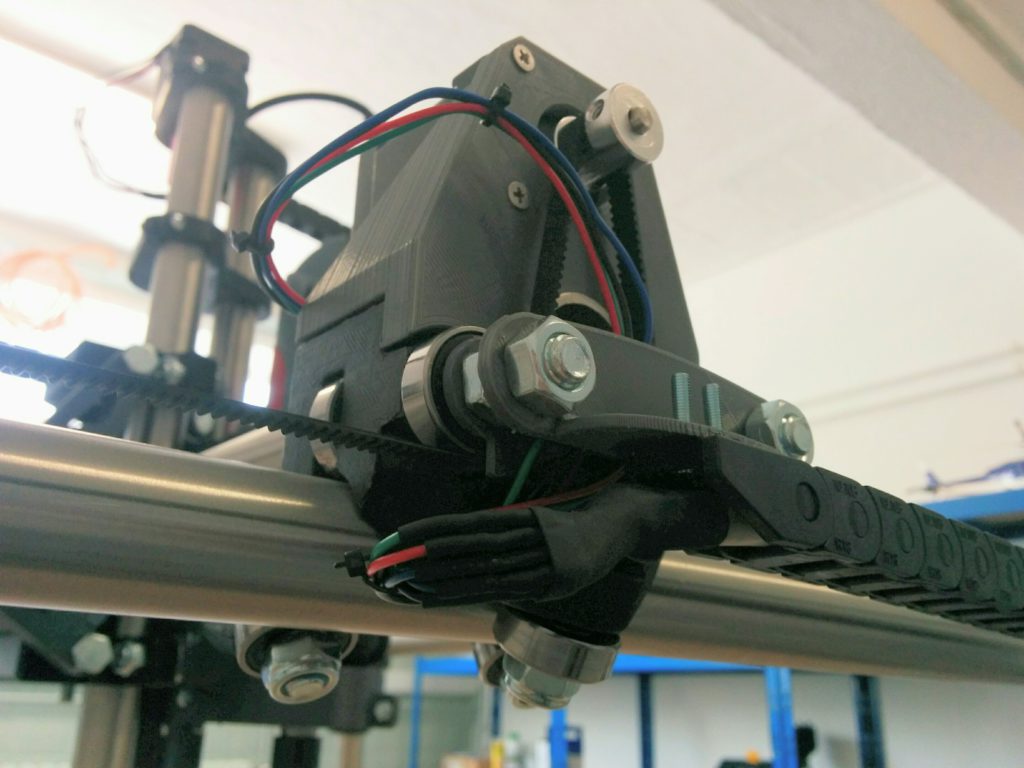
I guided all six cables per axis down to the controller board. I wasn´t sure If I might change the controller board and thus the method of actuation later. I used 8 pole shielded datacable from Lapp Kabel. I added some endstops after I ordered the cables so I have to wire them seperetaly.

img_20160922_153656

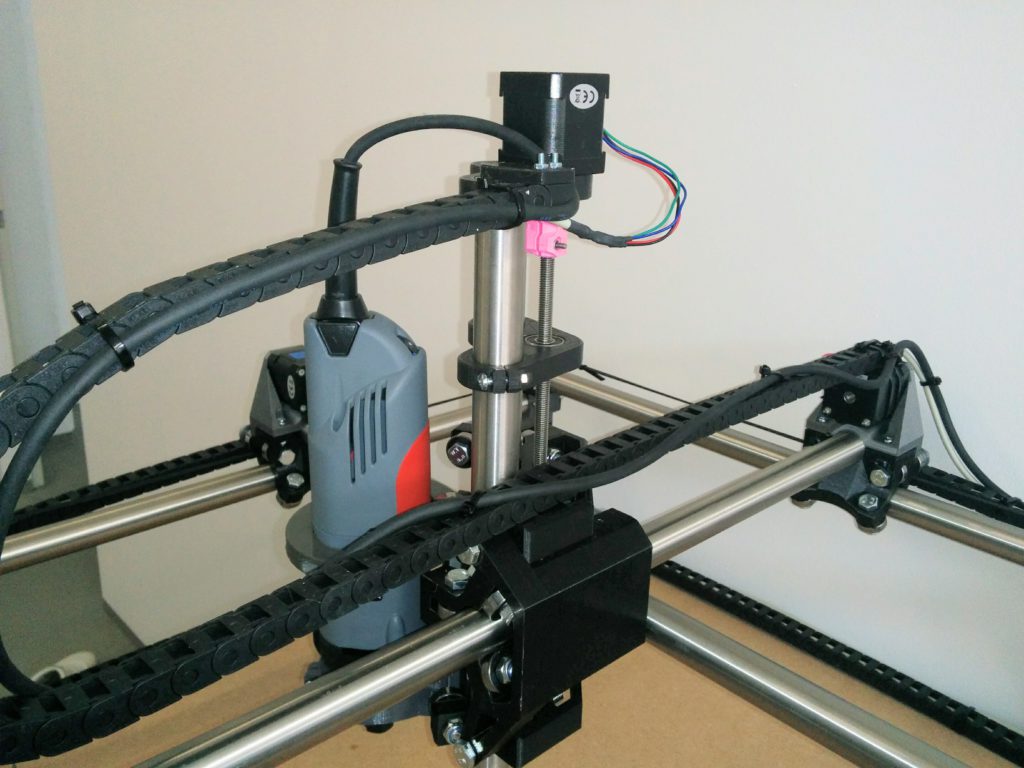
Z Axis with Kress FME800 and a pink solid coupler

The M8 threaded rod wasn´t straight and wobbles badly so the Z Axis binds from time to time when running. I´m going to change that for a trapezoidal screw soon. The printed rigid coupler also starts to crack. I need a better part for this too.

Everything else works good so far. The Stepper drivers are getting a little hot but I got a small fan as a leftover from my Fabrikator mod that will be mounted on a 3d printed case or similar.

img_20160922_153710

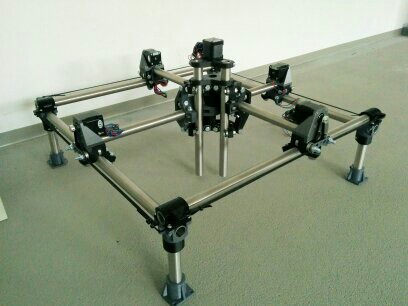
Complete setup with vacuum and cablework done

Getting endmills and doing the first cut is the next target,


Building a MPCNC

I started building a MPCNC router after I stumbled upon vicious1s design on thingiverse. I really liked the design and couldn´t resist to start ordering the electrical parts and the required conduit.

MPCNC Rollers

MPCNC Rollers and first stepper mount

I took pretty long to get all the parts printed correctly, as my printer was modded right before the prints and it wasn´t to clear how it will perform. The MPCNC prints served well as a long time test of the modifications

Almost complete

Almost complete

I quickly assembled the parts I had so far to see what it gonna look like

1471636054102

First test fitting

All fitted very well, the conduit is stainless steel whitch came pre cutted. I needed to source some screws I had to use M4 for the most parts as M3,5 as suggest by Ryan was harder to find. After I got them it didn´t took long to get the majority of the CNC parts together.

1471701993534

Assembled stage 1,5

Great moment for me, as I coulnd´t stop thinking about anything else than finishing this nice little machine up. I made it 70 x 70 cm resulting in a build volume of around 40 x 40cm x 10 cm.

Next steps cover the electronics, base plate and the spindle. I will go for a Kress FME 800.