Openbuilds C-beam from Ooznest

I had the demand for some more serious aluminum milling. I did that with the MPCNC before and it was kind of okay but I wouldn´t like to mill higher part counts with it. The spindle gets  hot after some time and leads to more flex in the toolhead. It´s not made for aluminum so I looked around for a more suitable platform.

I found the openbuilds C-beam machine to be nicely designed and versatile enough to be worth adding to my machinepark. I looked around for a europe based shop and found openbuilds poland  , v slot europe and ooznest .

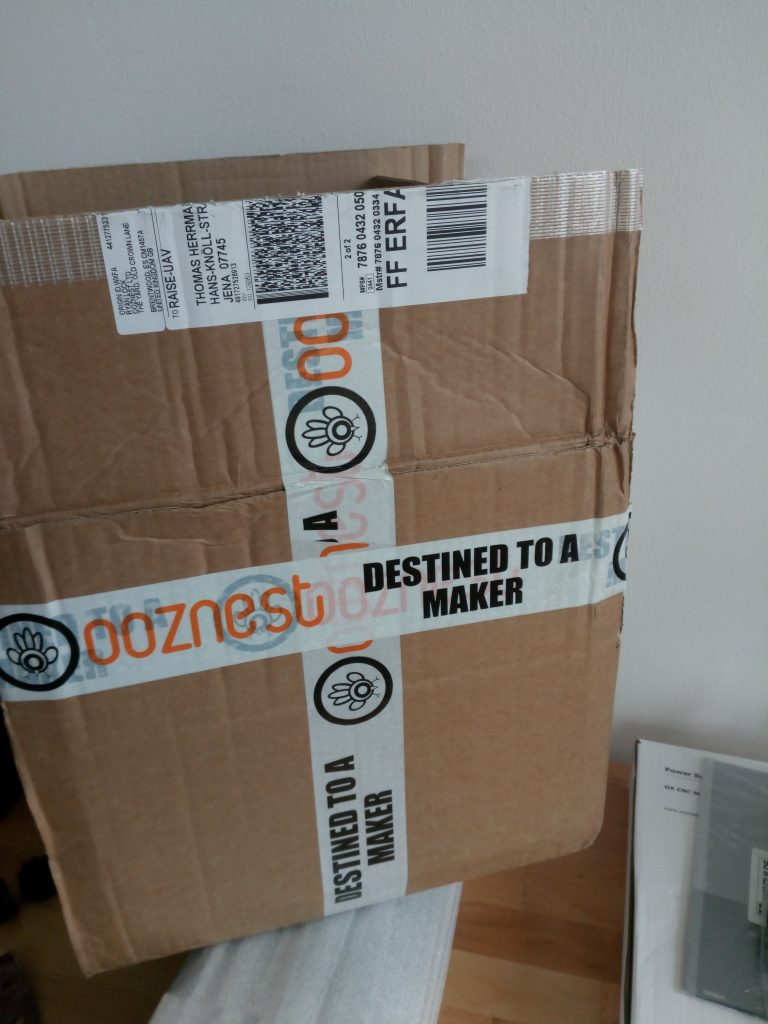
I decided to go with the ooznest version as they had the best full kit. I didn´t wanted to source all the parts from here and there. Sometimes it´s nice to have a complete package 🙂

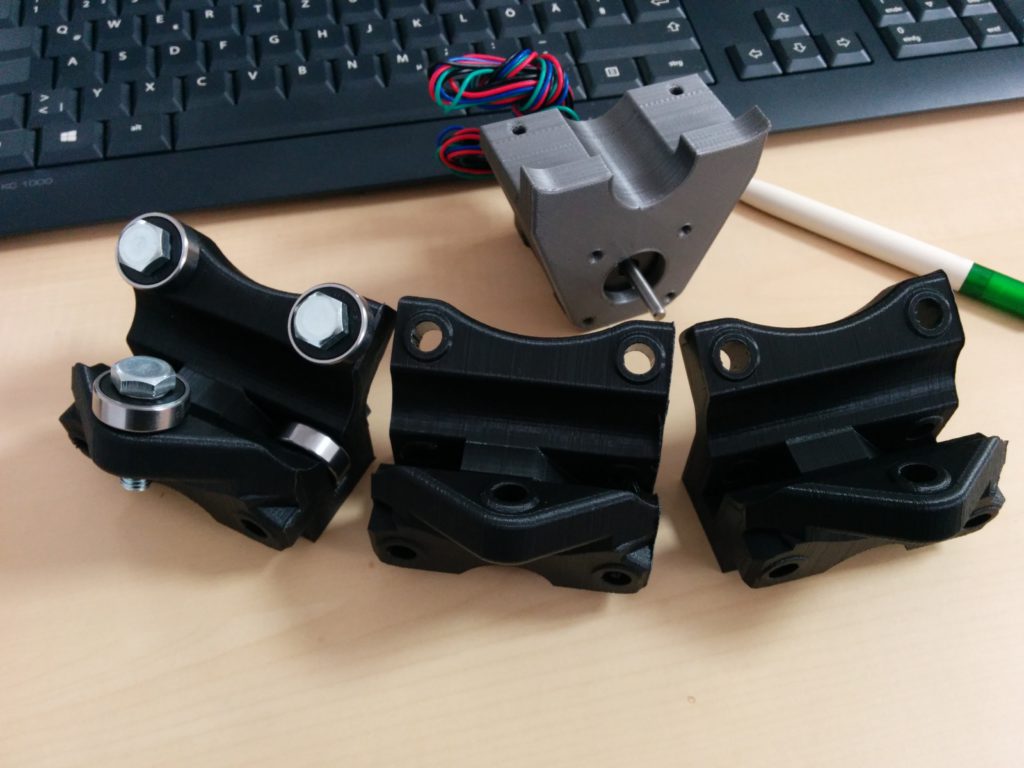
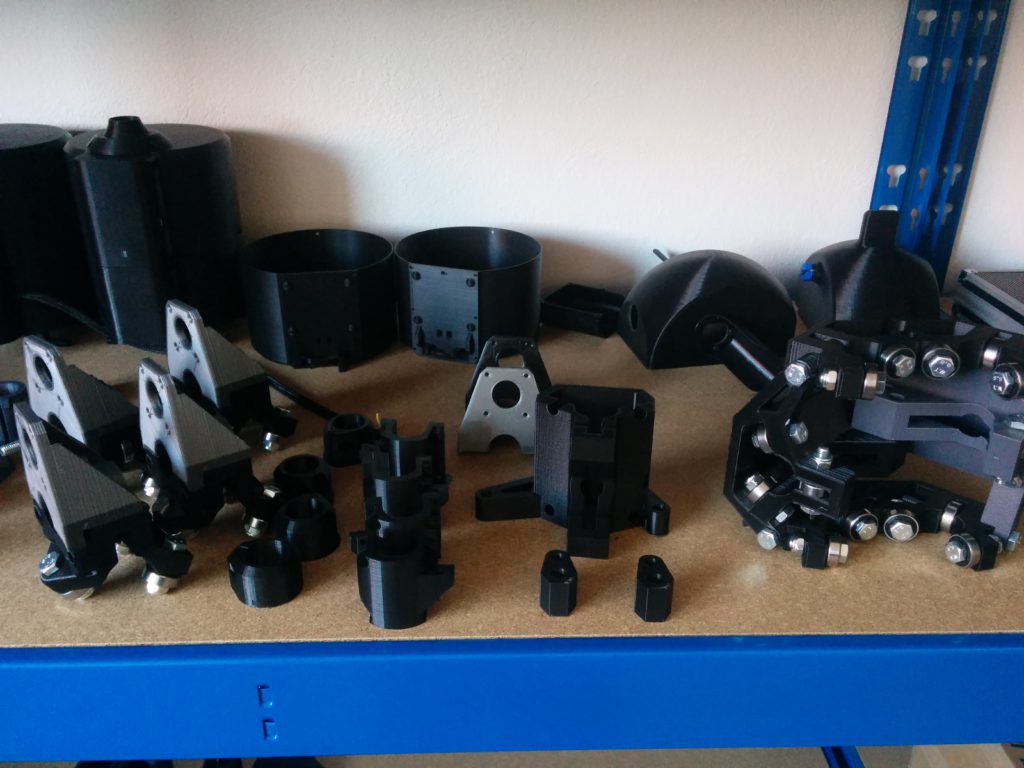
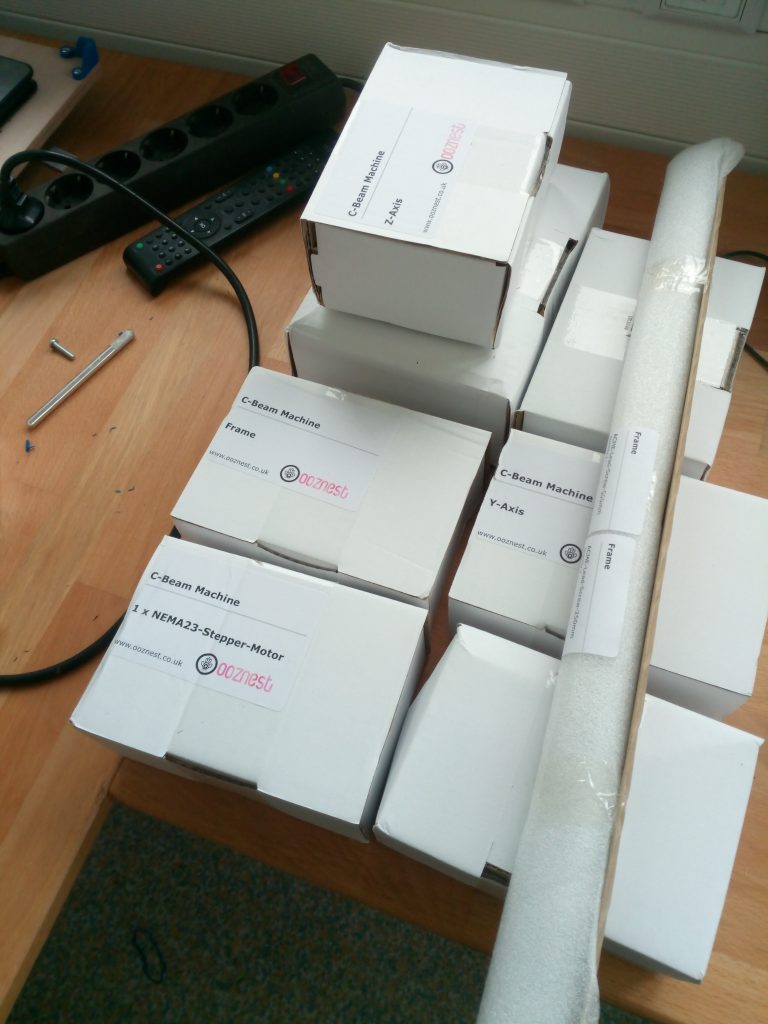
The sipment was fast after the payment went trough and so I had a first look at the package today. All was nicely packed and labeled according to the build section like X, Y and Z Axis. The printed parts for the power supply and the controller board looked pretty nice and felt solid.

Can´t say much yet but a real manual would be more comfortable than a build video. It´s way faster to look at a drawing than to forward, play, stop, rewind, play, the buildvideo 😀

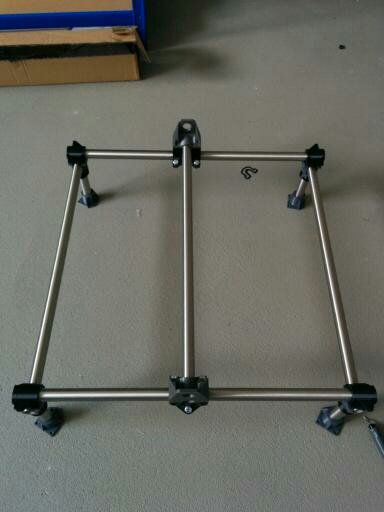
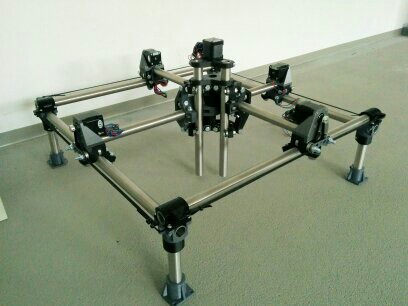
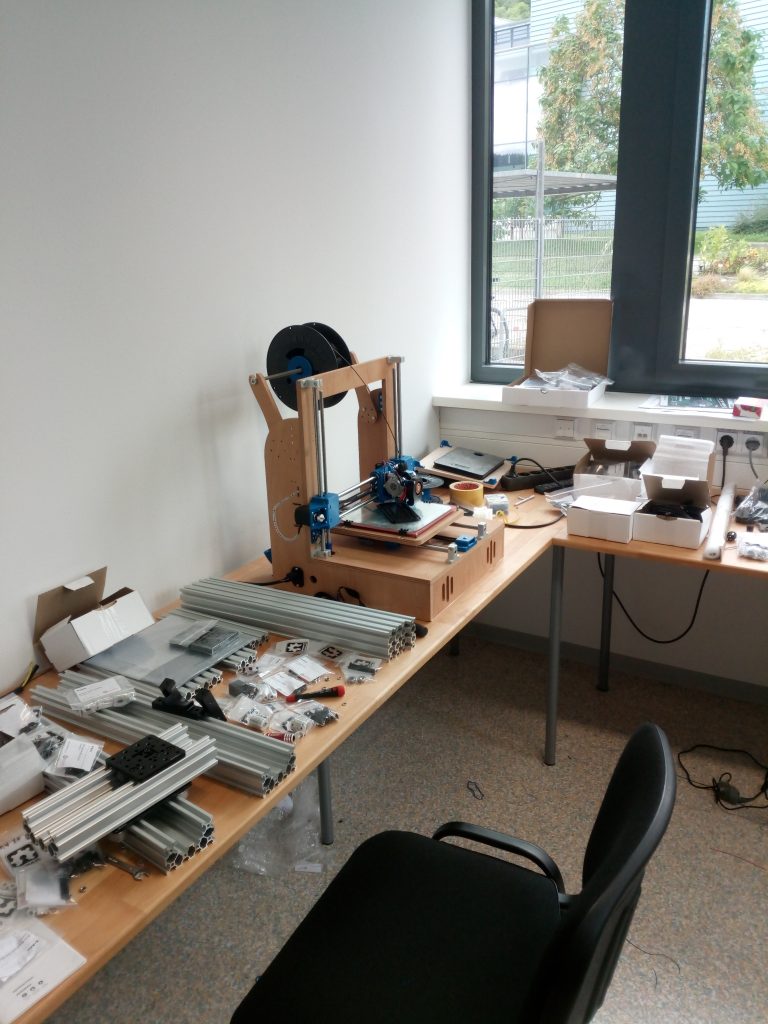
Ready for assembly 🙂

MPCNC- solved drilling issue

Surprise! I had a common chip clearance problem. I considered this as a cause from the beginning and also got some tips from the vicious1..com forum. I milled two complete sets of 3D-printer frames without problems so I couldn´t  believe that this was really the cause.

I drew a test pattern and managed to get it right with an additional ,5mm helical drilling movement. That seems enough for the chips to clear the hole.

I don´t have that much time to get into those issues but the parts didn´t came out perfectly rectangular yet. I tried to manually adjust the stepper position before powering it up but thats still not enough to get the precision I need. I´m using all of the available travel so I´m getting quite a big error in the end.

I need to readjust the frame and the feet as well.

Building a MPCNC

I started building a MPCNC router after I stumbled upon vicious1s design on thingiverse. I really liked the design and couldn´t resist to start ordering the electrical parts and the required conduit.

MPCNC Rollers

MPCNC Rollers and first stepper mount

I took pretty long to get all the parts printed correctly, as my printer was modded right before the prints and it wasn´t to clear how it will perform. The MPCNC prints served well as a long time test of the modifications

Almost complete

Almost complete

I quickly assembled the parts I had so far to see what it gonna look like

1471636054102

First test fitting

All fitted very well, the conduit is stainless steel whitch came pre cutted. I needed to source some screws I had to use M4 for the most parts as M3,5 as suggest by Ryan was harder to find. After I got them it didn´t took long to get the majority of the CNC parts together.

1471701993534

Assembled stage 1,5

Great moment for me, as I coulnd´t stop thinking about anything else than finishing this nice little machine up. I made it 70 x 70 cm resulting in a build volume of around 40 x 40cm x 10 cm.

Next steps cover the electronics, base plate and the spindle. I will go for a Kress FME 800.