News!

I founded a little company called raise-UAV. The main advantage is the increased time for my projects and that was totally necessary when I look at my roadmap. 🙂

It is primarily focused on the development of open drone systems manufactured with 3D printing technology.

The printer and the mini ghost I´ve started here will be hosted on the company side to keep things easier. Other things not drone and printer related will be posted here on the kleingeist blog in detail. Next bigger projects are a printed and easy to build kajak and an „earth rover“ for research purposes.

There will also be a shop on raise-uav.com where you can buy kits and ready made articles to keep me funded for further development.

I also began a video series picturing the builds and other useful content with its first episode right here

Cheers 🙂

Q3 – „Mini Ghost“

I discovered the magic of 3D printing as many RC fans did. The possibilities went straight up and a custom copter design was the inevitable next step after the tricopters.

The purpose of this development was to gain knowledge in design and material strength and of course the fun factor to have a small FPV vehicle, inspired by the recent 250 race class. The focus wasn´t race performance as a CFK plate build is just more rigid than PLA. Instead I wanted more flight time to cruise around, or as base for more scientific operations such as mapping or inspection. The flight time happened to be around 17 minutes with a standard FPV cam, so I considered the whole construction as a success, regardless of the problems I discovered during testing..

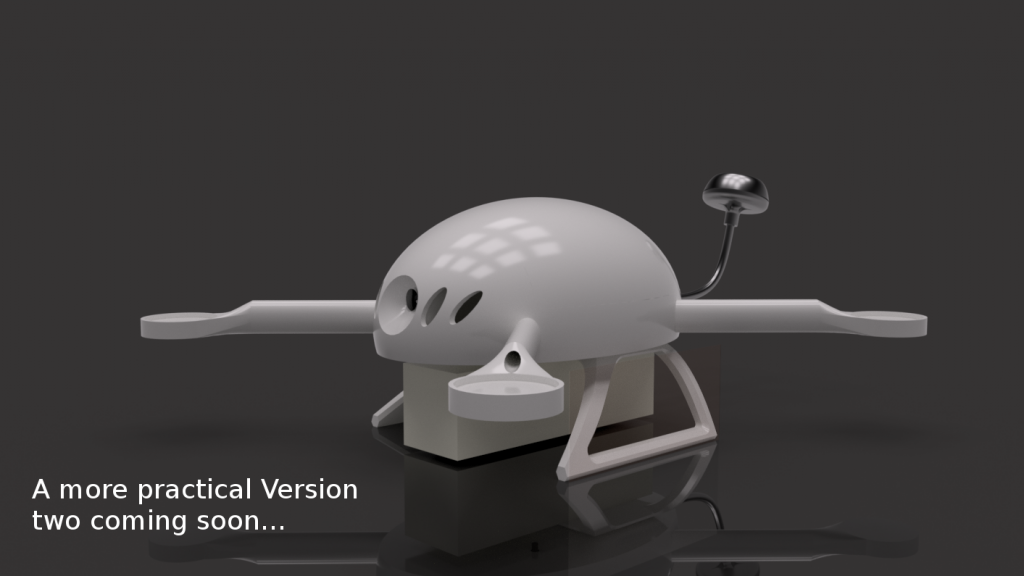
I liked the idea to have an „exoskeleton“ , which is nothing new as this is standard in aviation and DJI phantoms or Microdrones etc build upon  that concept. The main advantage seemed to be the more integrated look, aerodynamic, no need for CFK plates, complete in home production except for the electronics which led to more freedom from suppliers at least for the frame, protection for sensitive electronics inside and last but not least, freedom of design.

V1

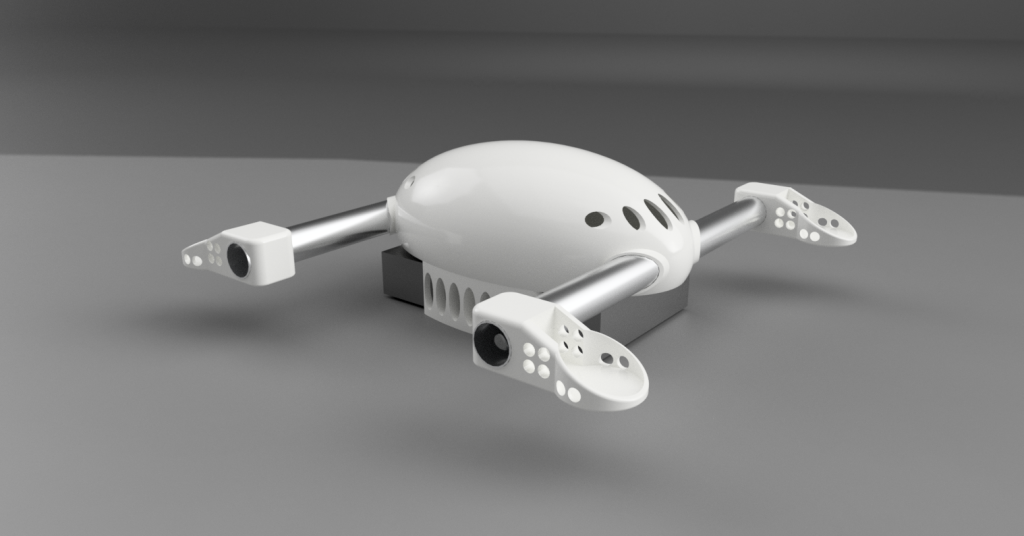
The first complete design relied on CFK or alu tubes

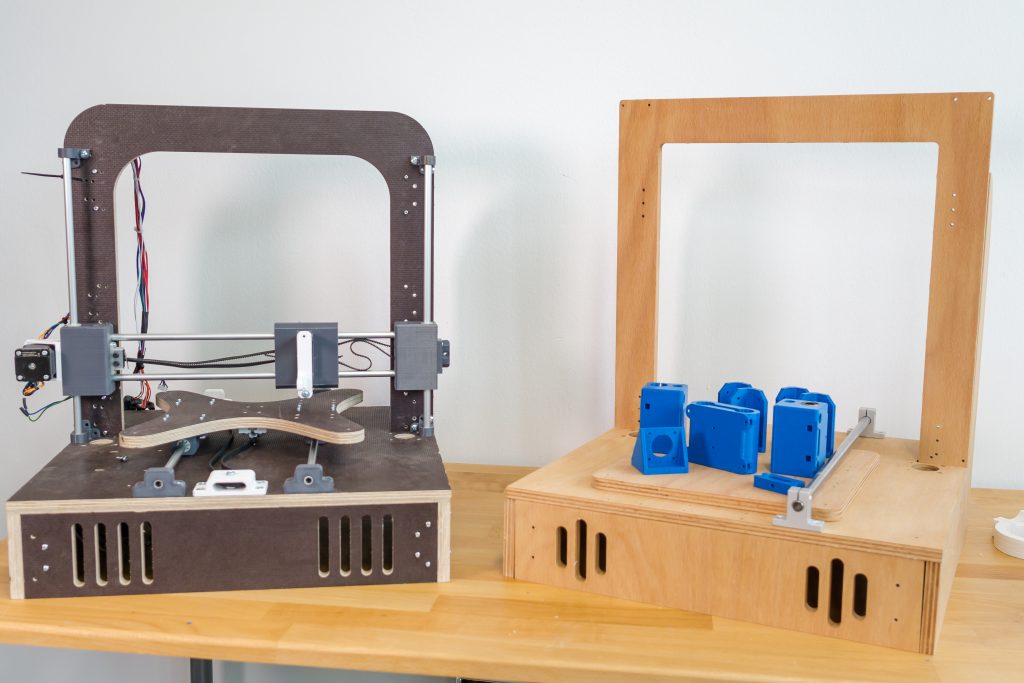
To ease up the printing process, the frame needed to be simple. Luckily my printer was able to handle all shapes without to much support material. The canopy can be printed completely without support. However the arms in V2 are a little complicated as they are hollow and the print tends to deform but it came out good enough for the first complete prototype.

V2Render

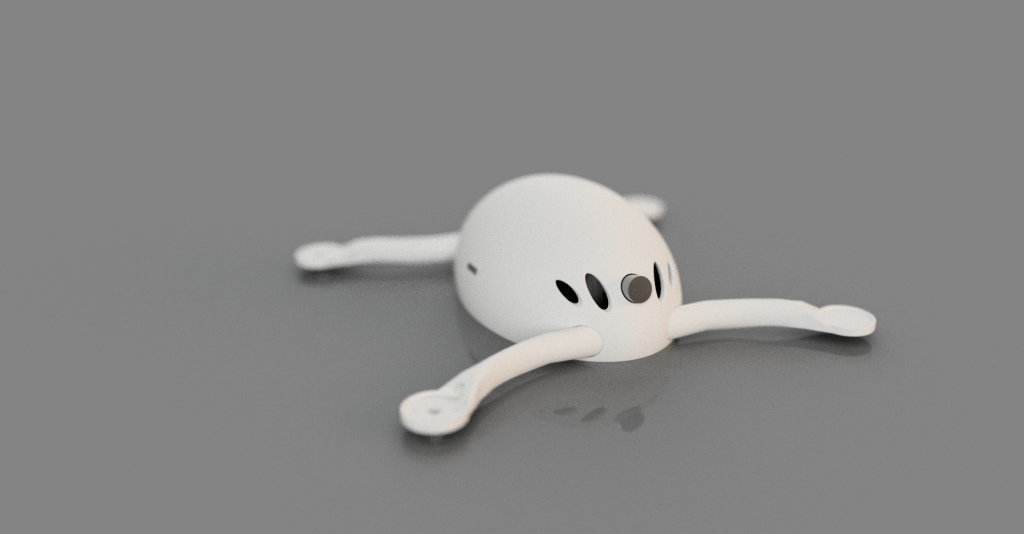
V2 Mini Ghost with more space inside and printed arms.

Time to print!

IMG_20151025_093747_042

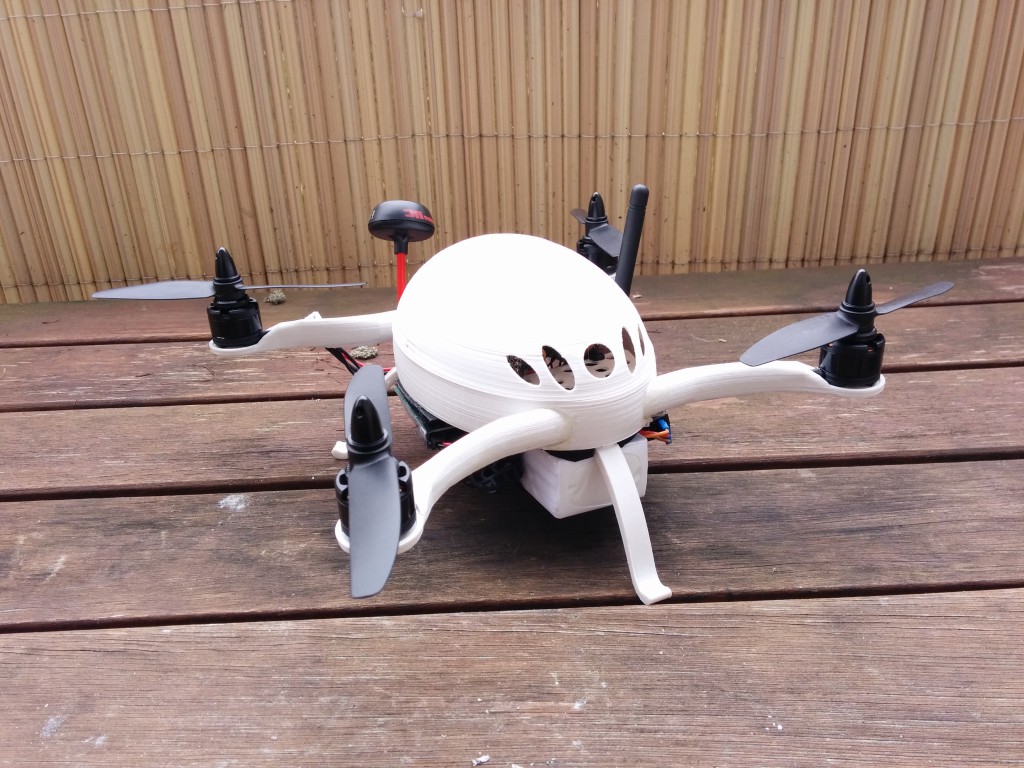
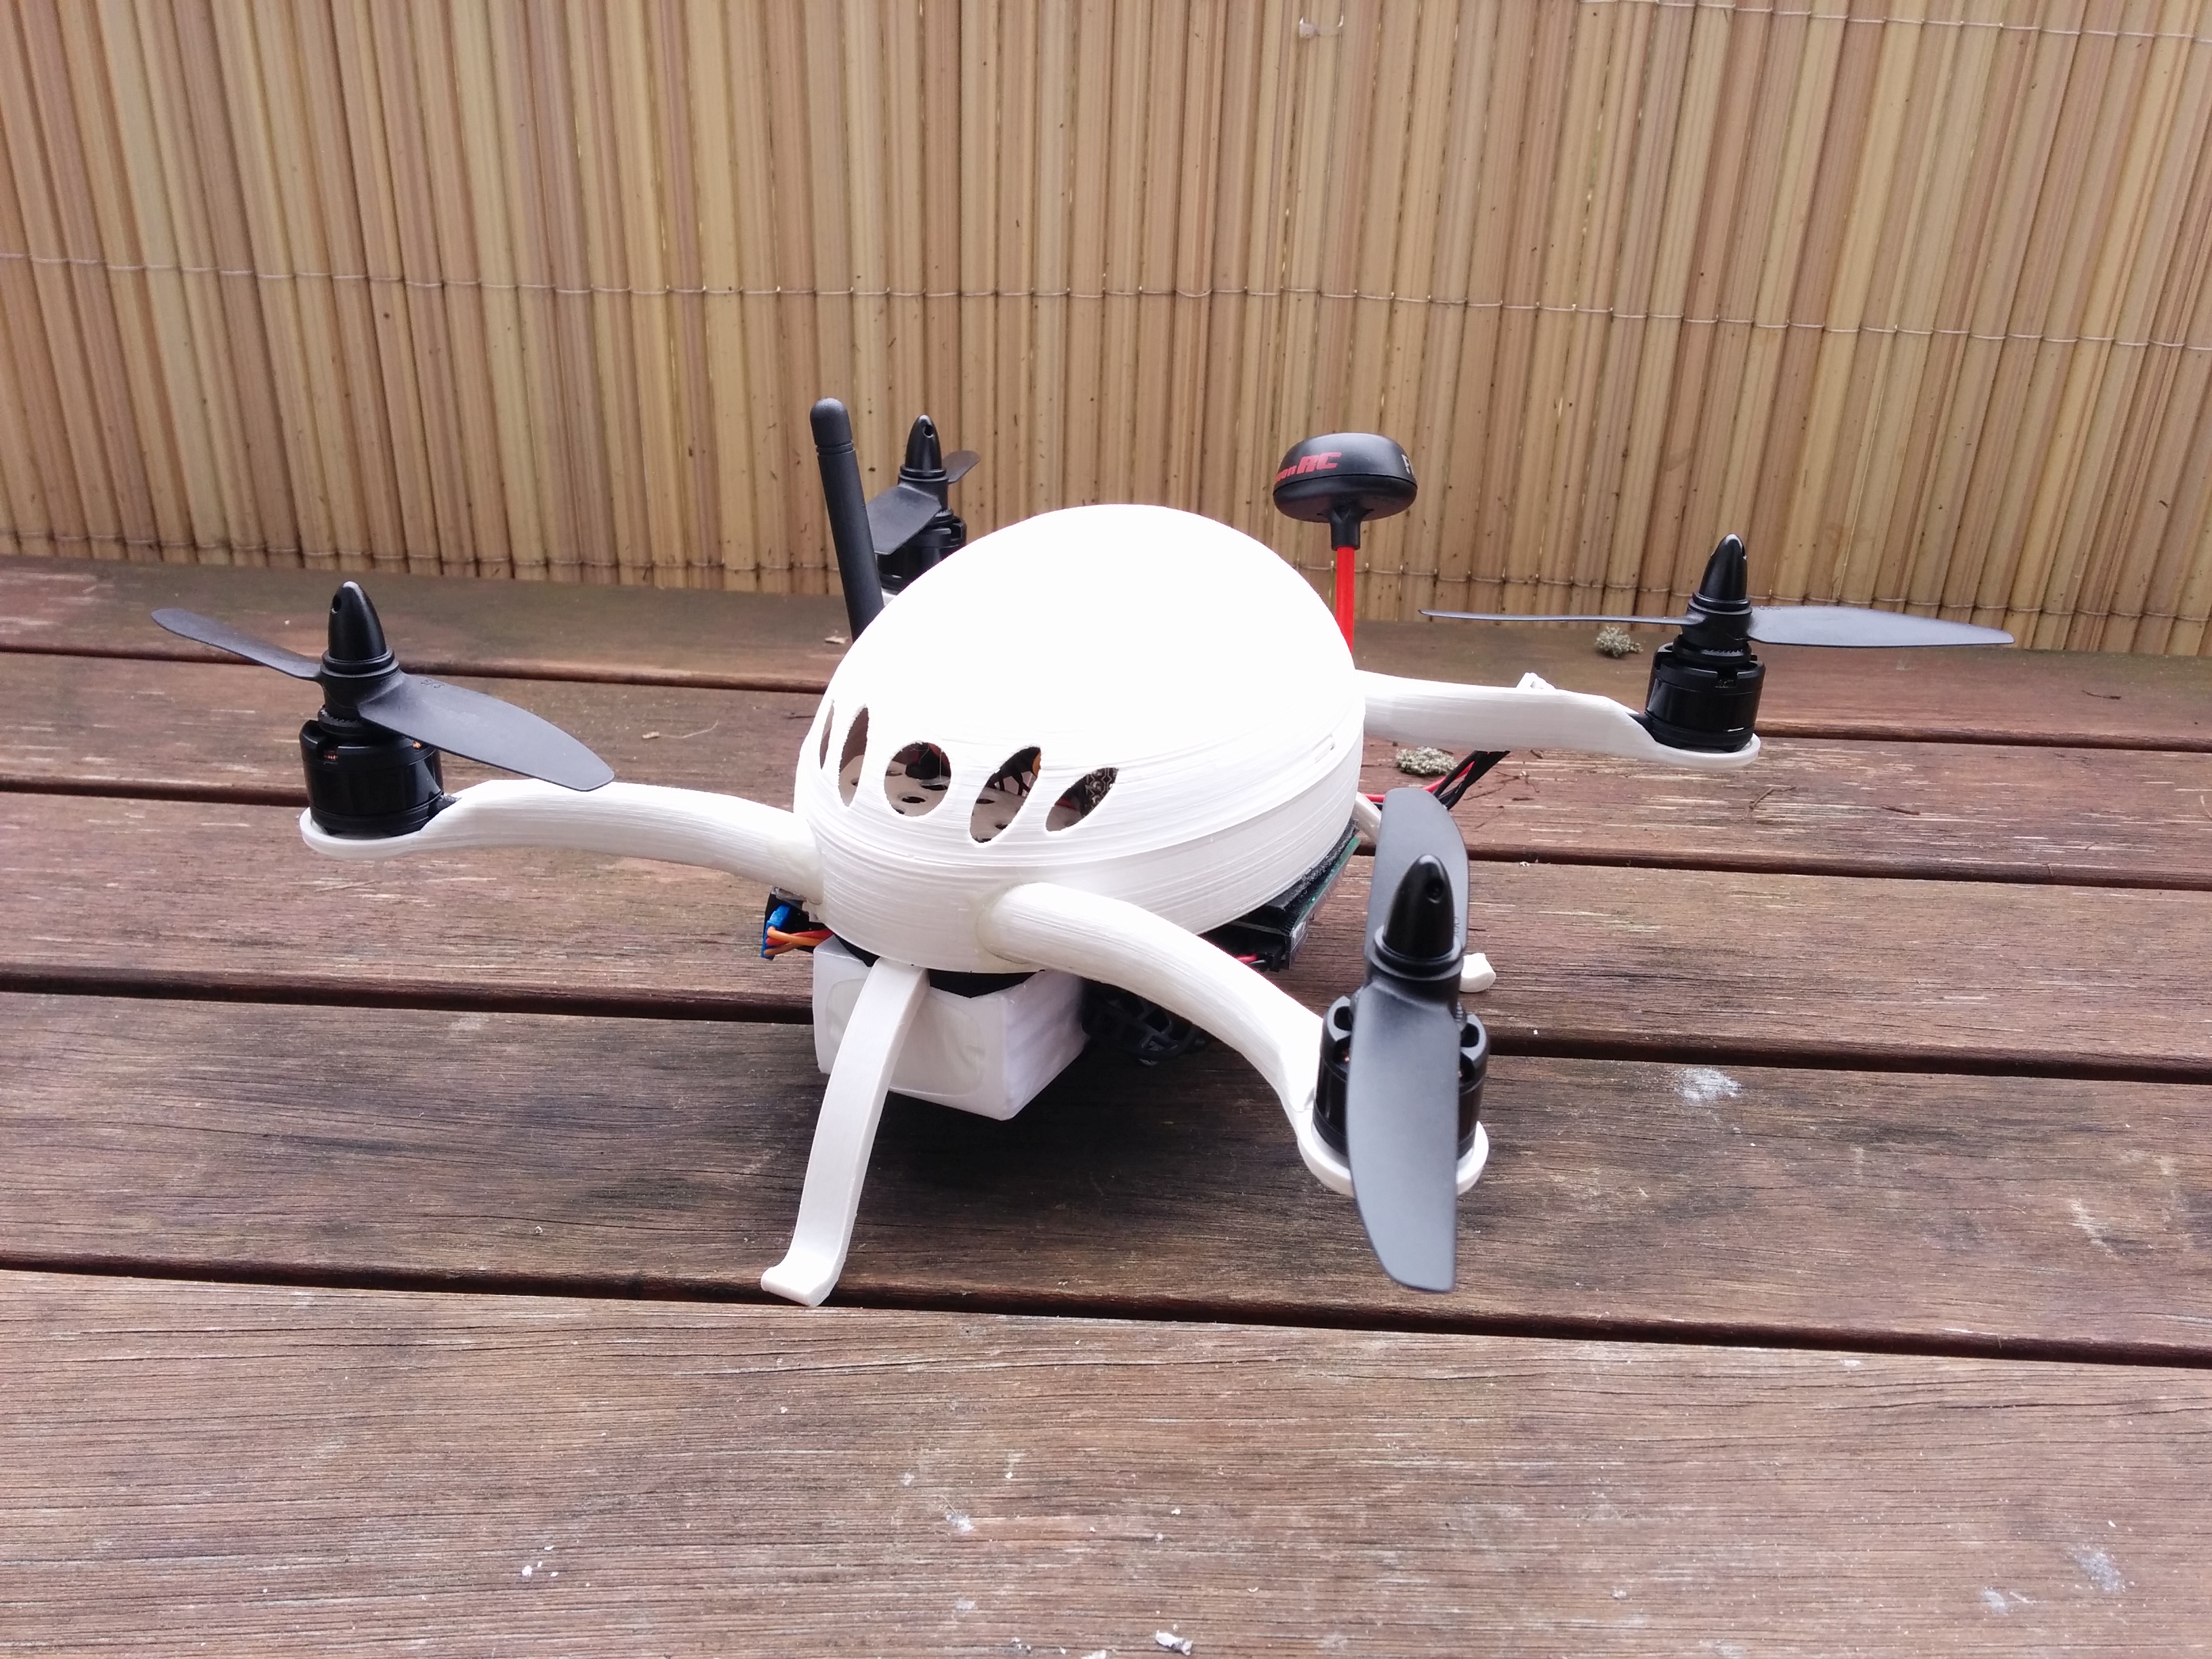
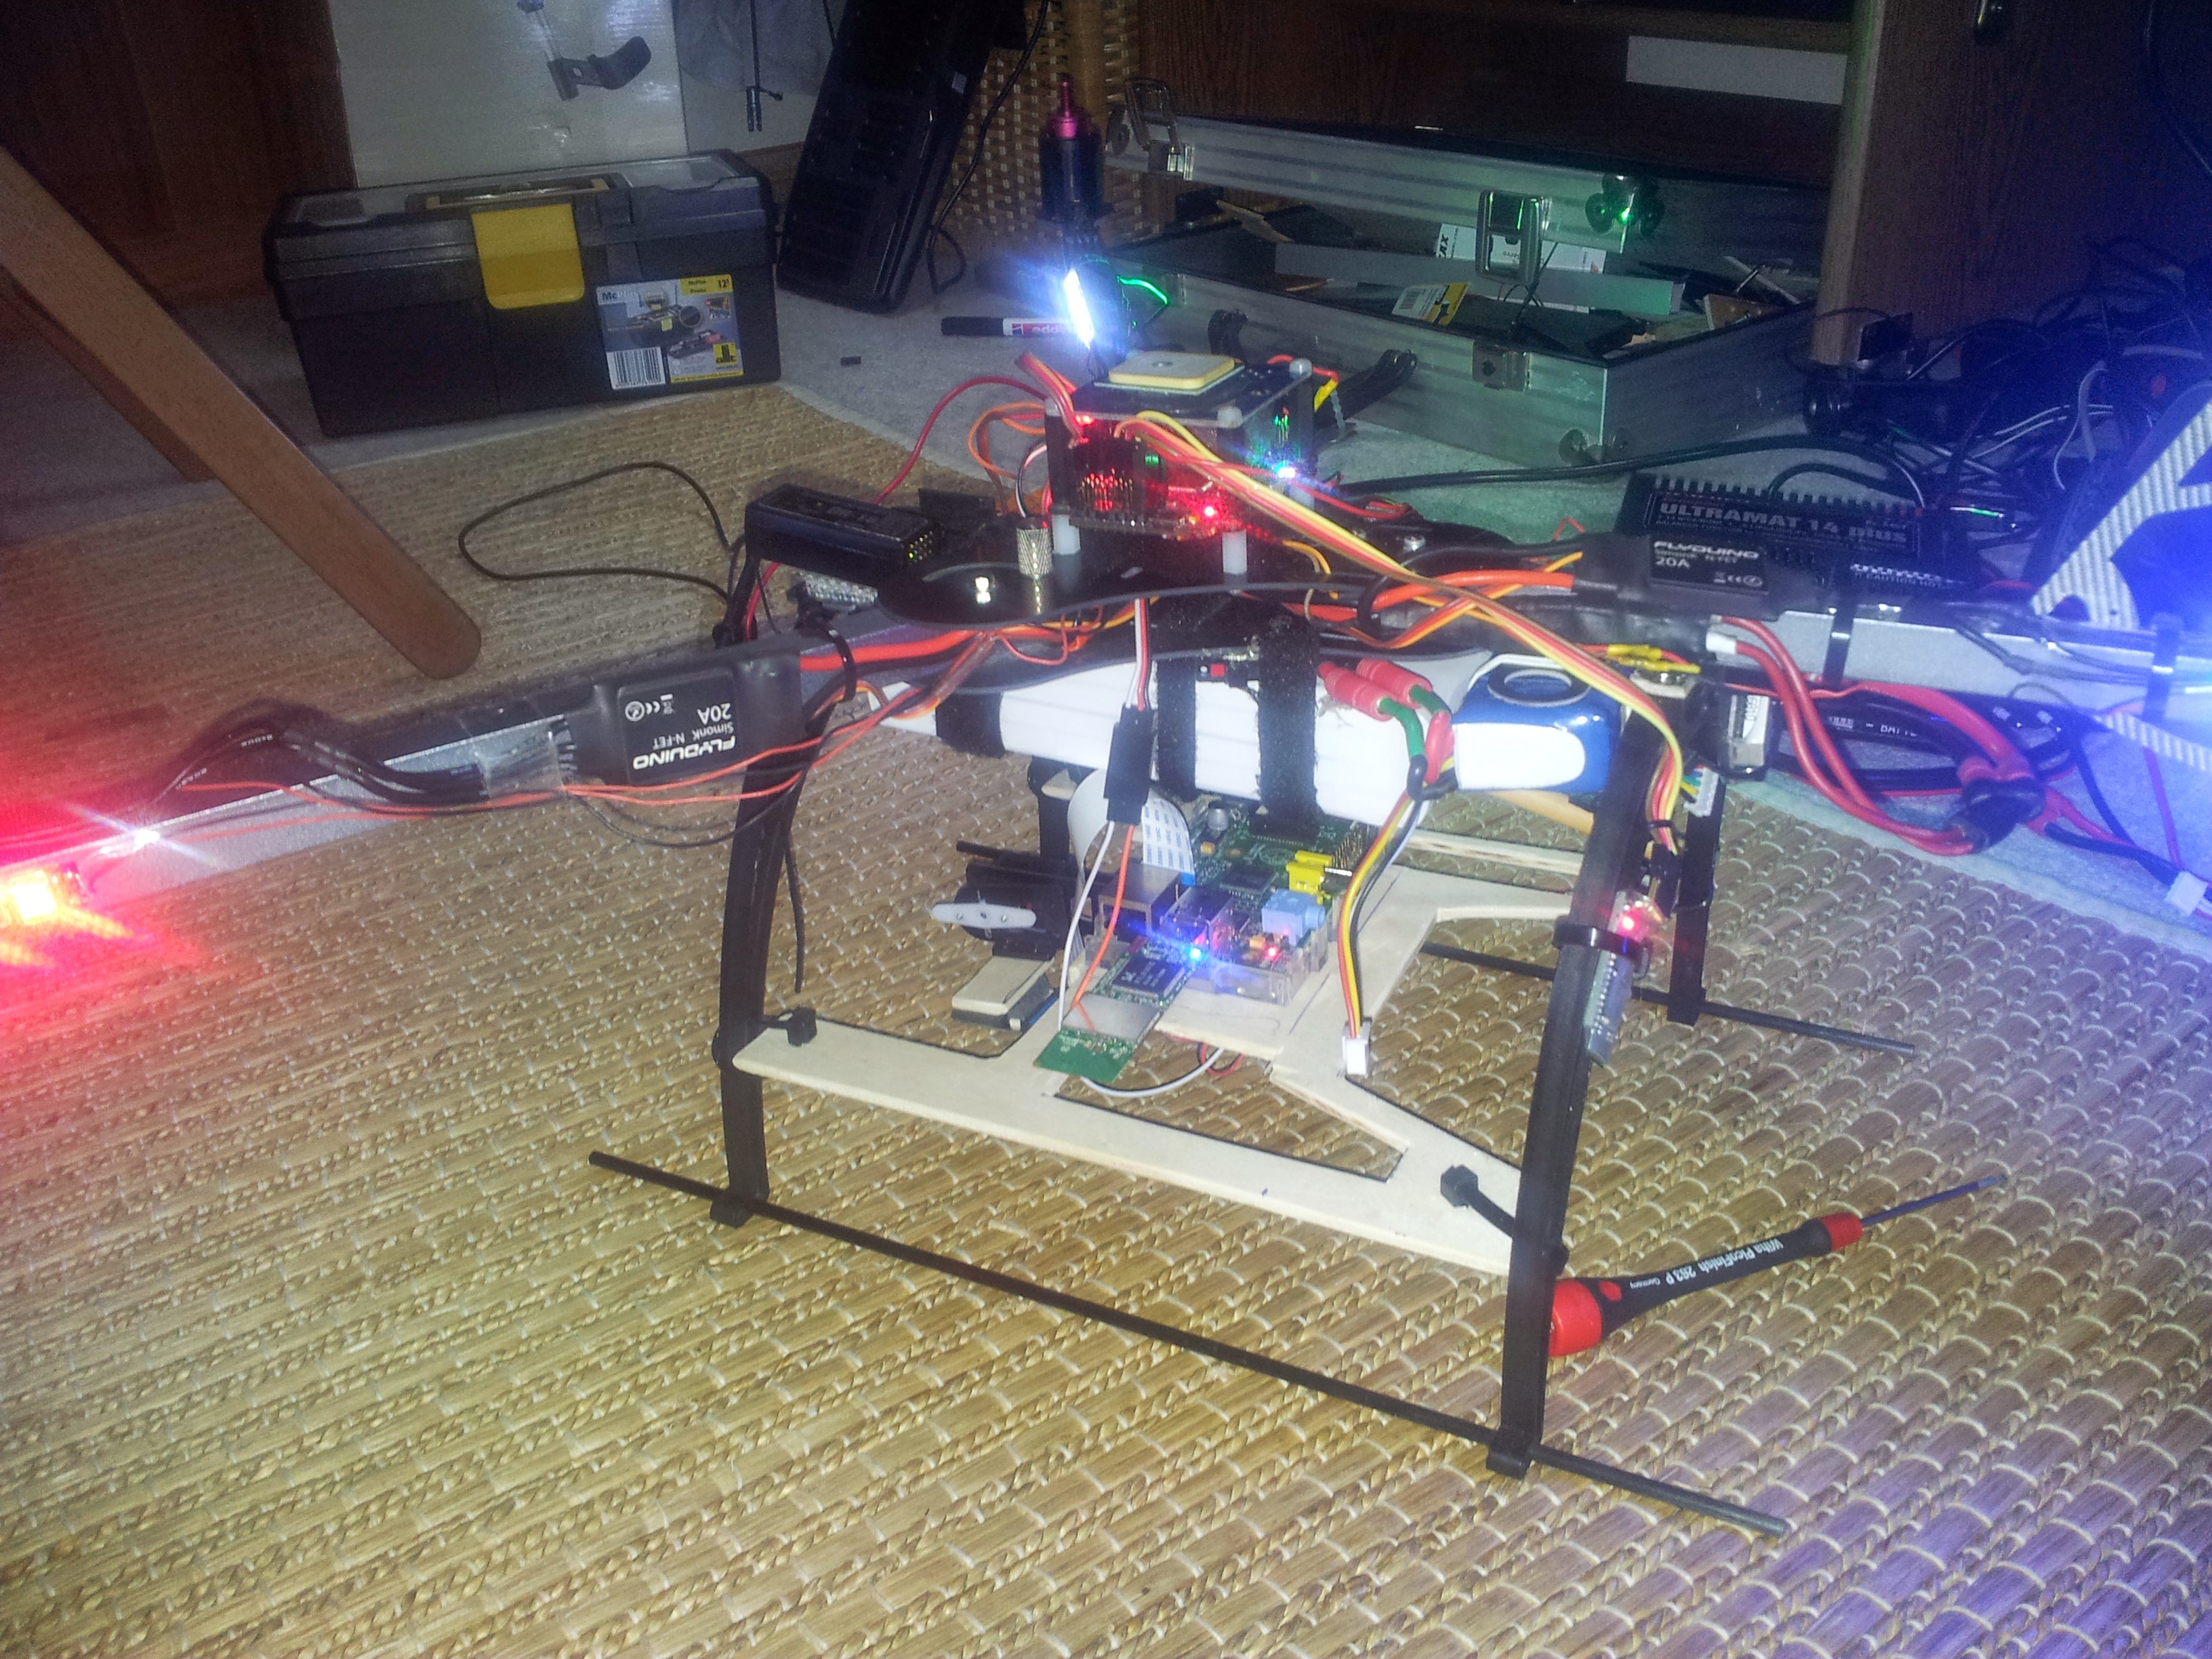
V2 in reality with added minimal landing gear and all the equipment

The print quality needs to be improved further. After a series of print tests I managed to link the suirface irregularitys to the z lead screw, as all of my prints tend to have the same banding pattern. Nevertheless, I could do some test flights indoors and it worked for now. I revealed some problems during these tests which need to be adressed.

  • The canopy mount was designed to be some kind of click mechanism, so it came loose because of heavy virbrations and the propellers shredded it while the whole copter dropped veticallly. I redesigned the mechanism and it is held in place with M3 nylon screws now. Much better with a safer feeling :).
  • I was unable to balance the props, because they are to small to fit in my balancer. They led to heavy vibrations around a certain RPM and..
  • Two arms were damaged close to the motor mount. I changed the design to something more fluid in this area and raised the infill to 30%. Also they were glued in originally and this has also been redesigned to a more interchangeable screw design.

Things to do:

  • The landing gear mount needs a overhaul as well. They weigh 2g each and softened the vertical drop pretty well but that was from 1m and the lipo is quiete heavy compared to the frame itself.
  • Print the updated parts

T2 „PHAD“ Plant Health Access Drone

As a result of the lack of usefulness of the first build, I decided to build something that collects some serious data. Pictures, at waypoints, vertically. More comlicated than expected but again a good place to learn something. I included a raspberry pi in a later stage and connected it to the multiwii board with a serial connection. I needed to learn python to get some more versatile functions out of the copter which took a while.

T2 first flight test

First flight testing without the companion computer

The flight time was 15 minutes as calculated with a 4s 5000 mAh lipo.

T2 with added companion

T2 with added companion and lots of LEDs 😀

The Multiwii Serial Protocol was hard to understand at first, so I had to learn the basics of a serial communication as well. The raspicam was triggered everytime the waypoint changed in the protocol. A simple python program listened to the waypoint message and triggered the cam accordingly.

I wasn´t able to finish this project as I entered the commercial UAV market. Next steps would have been image stitching and index calculations etc. Thats why it had it´s name originally.

T1 Tricopter

My first attempt at building a tricopter. It was meant to be as cost effective as possible and was equipped with a beastvision later on. It was controlled with a KK board, pretty much the simplest solution I could find. As ESCs I used the ones from my KDS helicopters, but that didn´t went out that well because one of them were different so the RPM were set incorrect for a stable hover even after multiple calibration attempts.

T1 - Tricopter

The wooden frame with alumium arms before the electronic were connected

The most delicate part was the build of the yaw mechanism. I ended up using a blade grip from a 450 RC Helicopter. That was glued in together with some bearings into the aluminum arm.

Yaw mechanism Tricopter T1

YAW Mechanism with zip tied servo

It came out like this after all components, including a flycam, were mounted. It flew pretty well but wasn´t very useful.

First Version with recycled components

First Version with recycled components

I added a better camera and protected the flight controller with a second deck made out of plywood.

Front view with Exilim z1080

Front view with Exilim z1080

This was tmy first step into the multirotor universe, with nothing magical involved. I learned quite a lot from this and it was even used to shoot some footage of a flood and some drfiting action. The lack of a gimbal and the very basic flight controller made it difficult to gather good video material.