Teedroid- Hauptrahmen bereit für die Sensorintegration

Ich benötige  nach wie vor eine standardisierte und möglichst automatische Form der Teezubereitung. Da fast alle Teile bereits eingetroffen sind, wäre es schade dieses kleine Projekt nicht zu Ende zu führen.

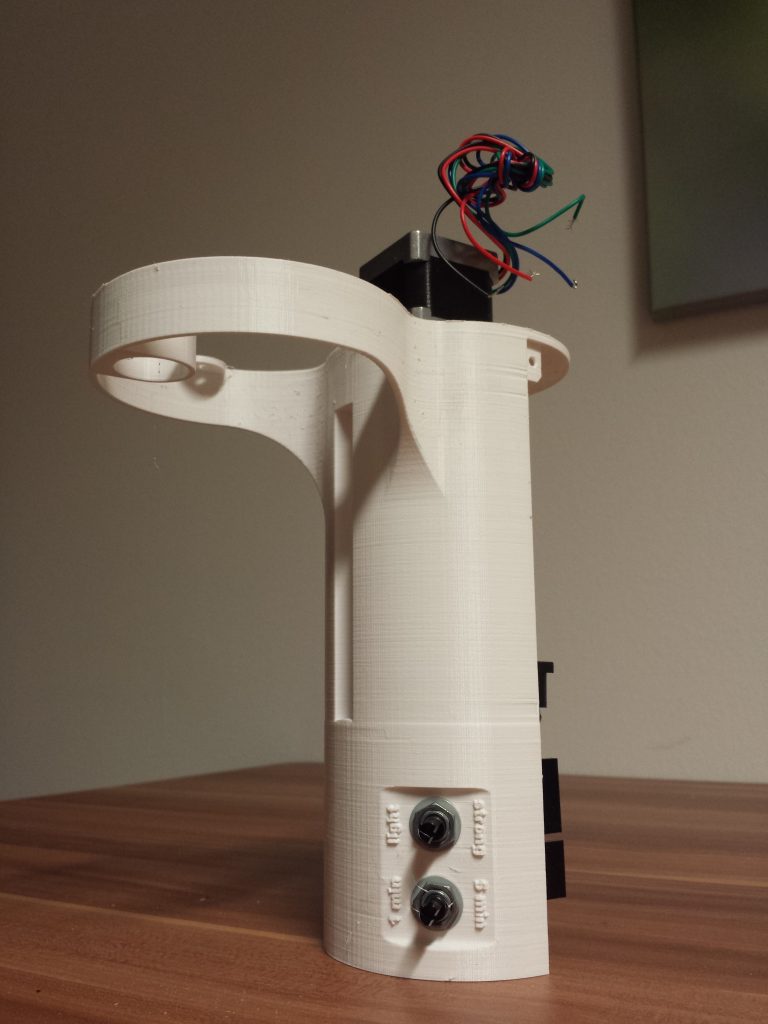
Der Hauptrahmen ist gedruckt und jetzt geht es daran die Sensoren für das automatische erkennen der Teetasse und die Dosierung des Tees sowie die Absenkung des Teefilters mit den entsprechenden Sensoren und Motoren zu realisieren.

Es ist schon eine weile her das ich im Arduino was von Grund auf geschrieben habe, ich bin dennoch guter Dinge das ich die gewünschte Funktion mit relativ geringem Widerstand umsetzen kann. 😛

Gedruckt in weißem PETG. Das Profil braucht definitiv noch etwas finetuning.

TeeDroid

Ich bin schon seit einiger Zeit auf der suche nach einer guten Teemaschine die mir einen wiederholbaren und unverfälschten Teegenuss ermöglicht. Es gibt eine recht große Bandbreite an Maschinen auf dem Markt aber keine wollte mir so richtig gefallen. Teilweise waren dafür auch die hohen Preise bei den sinnvolleren Maschinen verantwortlich.

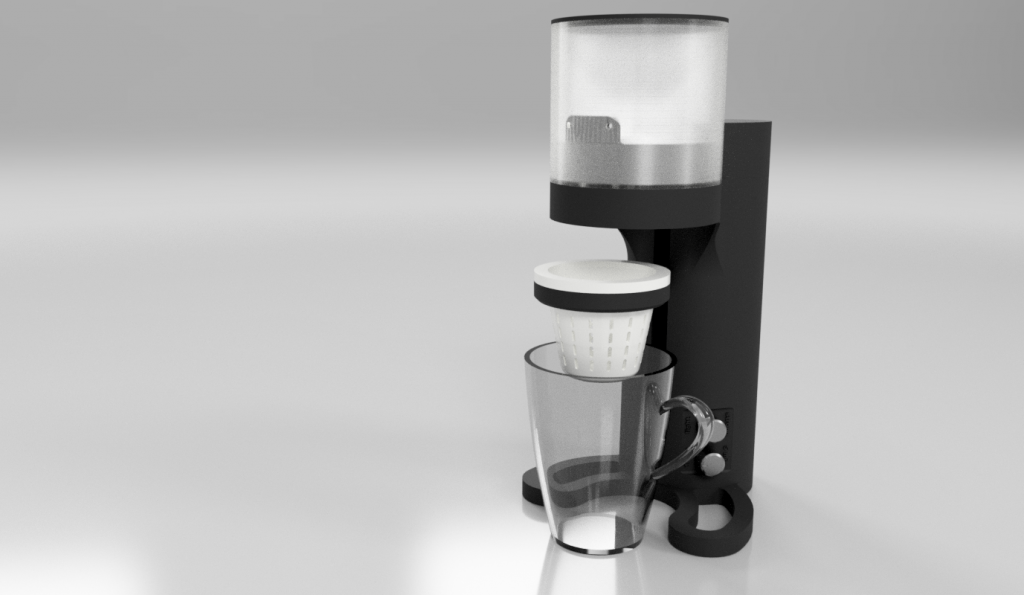
Daher hab ich an einem Wochenende angefangen ein einfaches Konzept zu erarbeiten das halbautomatisch den Filtrationsvorgang übernimmt. Das kochen des Wassers überlasse ich dem Wasserkocher, den ohnehin jeder zu Hause stehen hat. Das finden einer geeigneten Brüheinheit mit 220 V und die Schwierigkeiten die damit einhergehen sind somit außen vor und zudem wirkt es sich positiv auf die Teilekosten aus.

Er soll später die Tassengröße erkennen und entsprechend den losen Tee, der oben im Behälter luftdicht gelagert wird, dosieren. Danach senkt er das Sieb in die Tasse ab und wartet auf heißes Wasser bevor er den Timer startet. Während der über den Poti eingestellte Timer läuft, hebt und senkt er das Sieb einige male, bevor er nach Ablauf der Zeit, das Sieb heraus fährt und einen Signalton abgibt.

Die Komponenten sind bereits eingetroffen. Genaueres dazu dann wenn der Hauptrahmen gedruckt ist und die jeweiligen Teile in Position.

Da es sich um ein Wochenendprojekt handelt wird es natürlich etwas dauern bevor der erste PoC fertig ist.


mostly printed camera slider – part 3

Has been tested intensively now. Works ok, with a little practice. I guess I can´t expect more from a printed design due to the weight shift with 500 g class DSLMs. Nevertheless thats enough to do some close slides for products etc.

See it slide here:

There might be some documentation necessary before releasing it on thingiverse as the mechanism needs to be adjusted correctly.

mostly printed camera slider – part 2

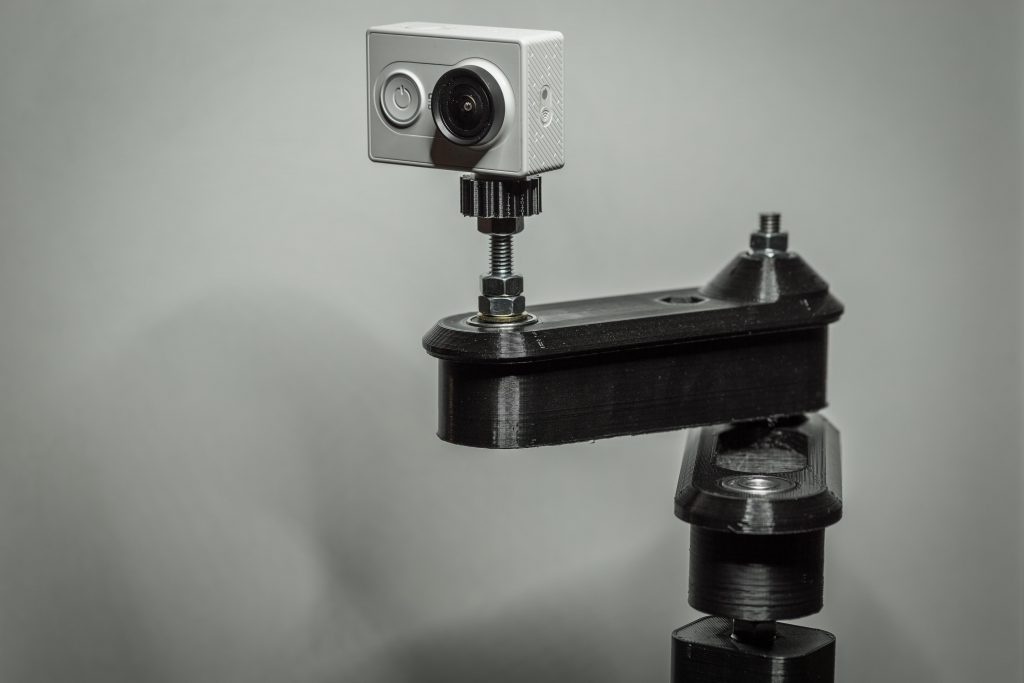
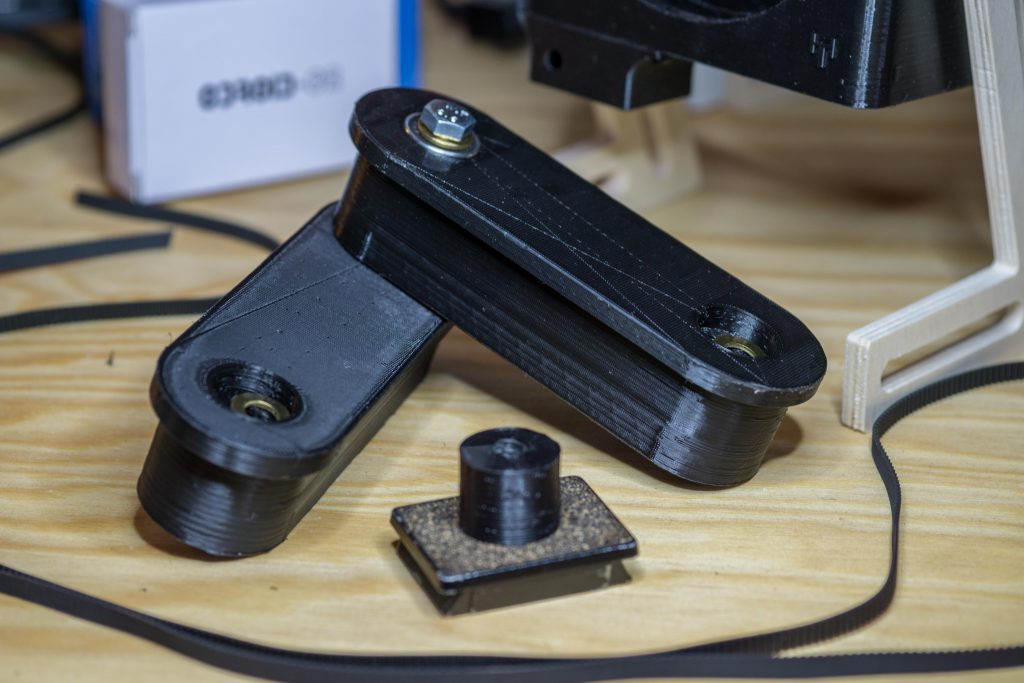
I took another iteration to make it move like it should. As you can see, in comparison to the previous entry, the case and the mechanics have been modified. The belt system used is a bit more complicated than I initially thought and I couldn´t get it to perform „super smooth“ like its contestants.It is best suited for actioncams as you can see in the picture below. I tried a DSLM and it works somehow but it flexes under the load generating a somewhat unstraight path.

I think it´s okay anyway, taking the money spend into account versus performance. At least it was a good exercise. In the video below are some cam transitions made with it so get the idea of the achievable smoothnes. It´s more like basecap than edelkrone 😛

This project is currently in long term testing and refinement stage.

Mostly printed camera slider

Inspired and a bit fascinated by the glide arm style camera sliders I decided to build my own version of it.

The parts are all standard you got laying around either from a MPCNC build or if you like modifying or building 3D printers. Anythin else can be sourced from your local hardware store or other sources.

 It is not working yet as I´m wating on some hardware parts that are announced for arrival next week. After that it will be tested in various conditions and then maybe released into the wild 🙂

Parts list:

-soon-

Solder fume extractor

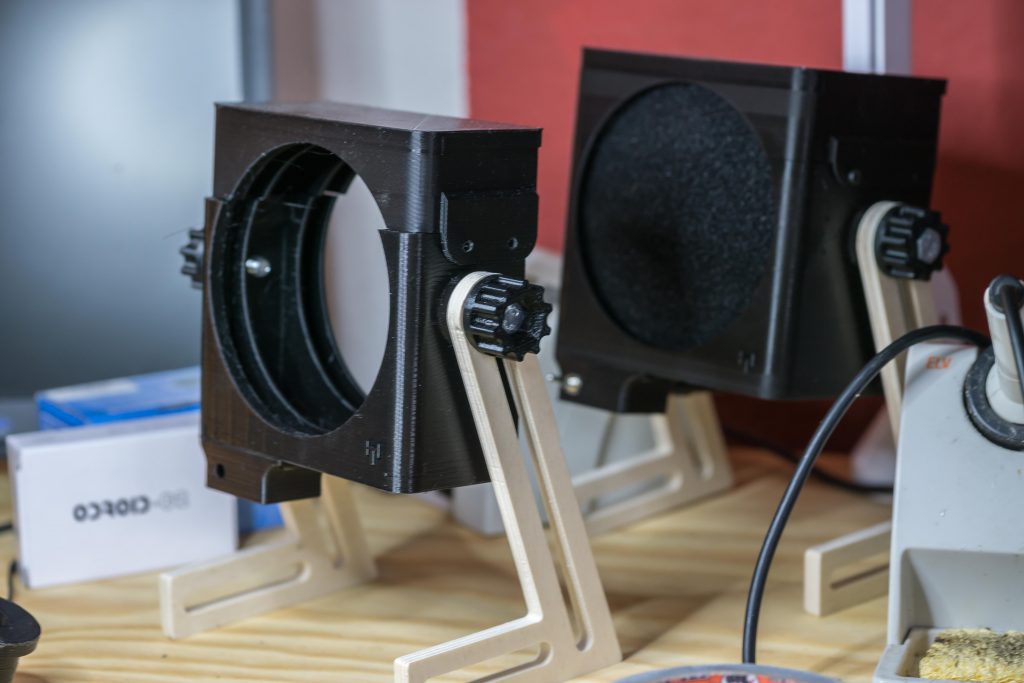
A definetely important tool that I´ve delayed way too long. Micha remembered me of the importance of these devices and as he needed one as well I had even more motivation to finally build one.

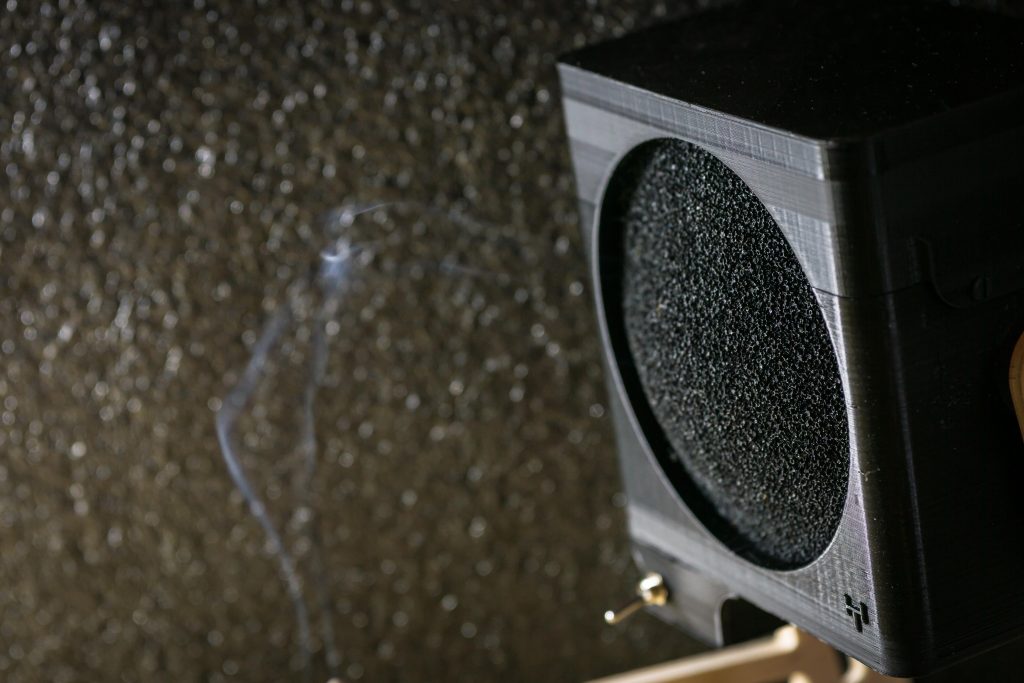
It is a simple design with a 24V 180 m³/h fan sucking the air through a 130 x 130 x 10 mm activated charcoal mat. The protoytpe on the pictures was designed with two fans in mind but the single arrangement was sufficient enough. The single fan design also reduced the printing time of course, so I went with that as standard.

I added some legs that increased the range of the system so you don´t have to be too close to the „defumer“. The working range is usually around 40 cm. The closer the better.

Material:

5,6mm female plug – Example

120mm Fan 24 V – Example 

24V power source- Example

Flip switch – Example

Activated charcoal mat – Example

Desklamp „century“ part 2

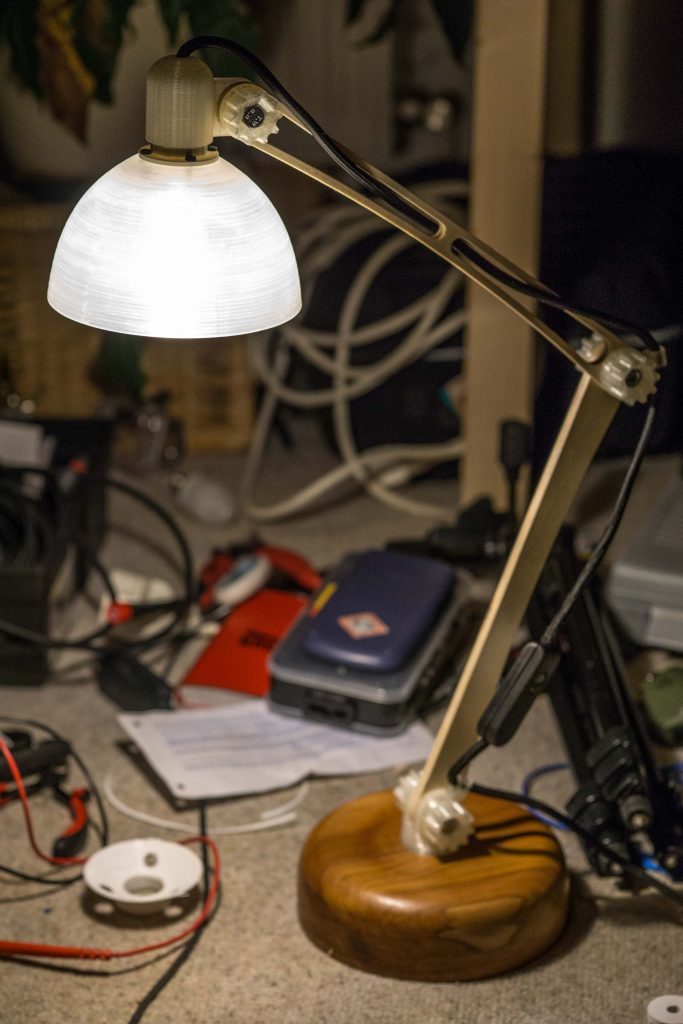
I did finish the first „century“ lamp just in time for christmas. The base is very close to the CAD design, thanks to the excellent work of a friend and his lathe. The apple wood turned quite dark, alltough I used a clear finish. The lampshade printed from natural PLA gave it an almost glass like appearance. I´m currently refitting the MPCNC with an extruder so I may be able to print the more complex lampshades soon as my Hobbyking Fabrikator is just a bit too small for the task. I´m pretty happy with the result so far. Now I have to dive deeper into aluminum milling to get it a little more stiff.


Desklamp „century“

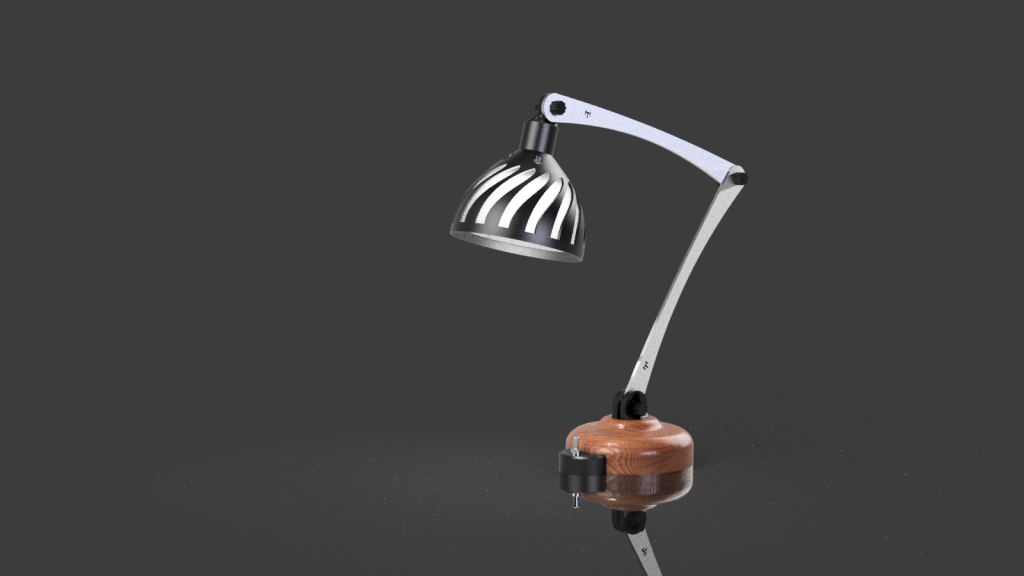
It has been a while since the last post and the reason for that is the design and manufacturing of a desk lamp. The initial design differs from the final product as the whole process has been simplified a little. I gathered materials for three of them so the first one will serve as a production test to find out if everything fits. Once finished I am going to include the finer details.
Centuries desk lamp

The pedestal is a 3D cnc piece made from walnut here. It has been changed to a more simple round apple wood base with a 10mm phase cut with a bandsaw. Since the apple wood has a real nice grain I like it even more by now. I made three of them and one is probably going to be machined on a lathe by a friend to get closer to the intended design.
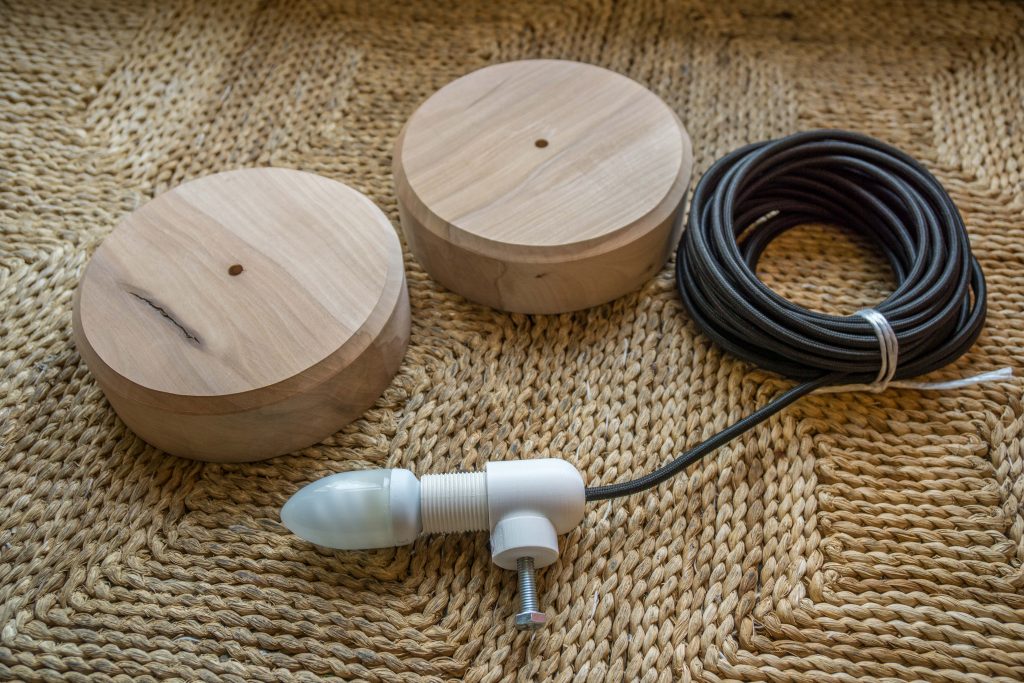
Desk lamp parts

The switch case mounted in front is going to be replaced by an inline switch, this also eases up the amount of needed prints. The joint for the arms above has been redesigned and is now clamping instead of a bolt through design with three possible positions. I have not tested yet if the clamp produces enough force to hold the arms and the lampshade with all the components. I hope this works out well.
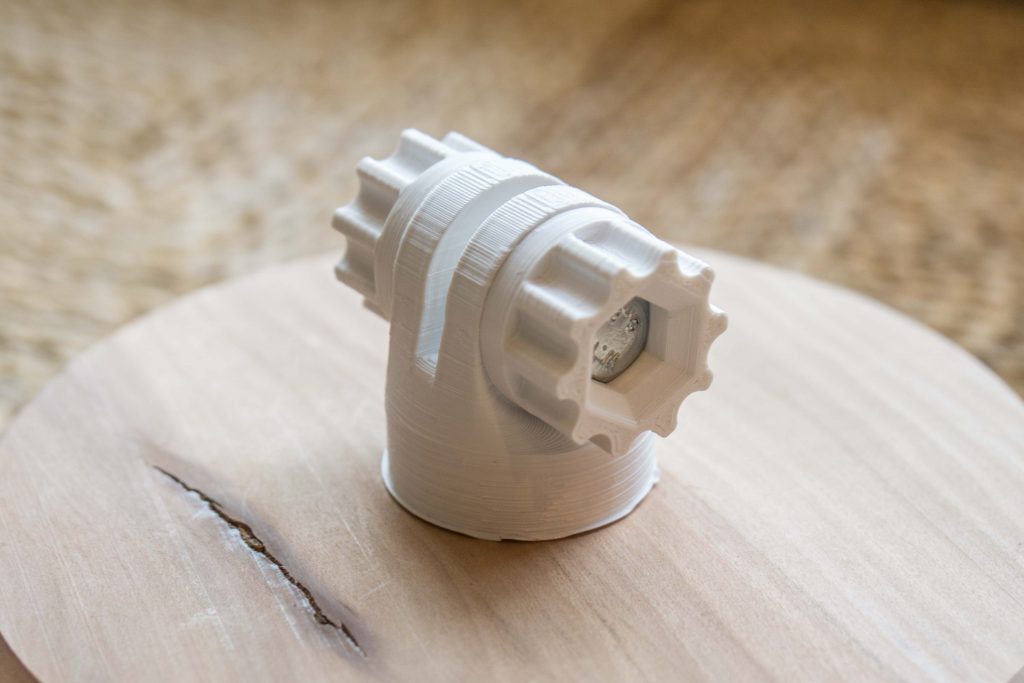
desk lmap arm clamp and joint

The arms should be made out of aluminium and I found some nice bars I can make them of. The first step will be to mill them out of some old wood planks I got. That is a good test to see if the dimensions of the parts work together well from a design perspective. The final arms are then milled as intended when the design is validated.

The lampshade is 3D printed and adapted to a regular E14 lamp socket. The threads came out usable on first try and I will keep those first parts.
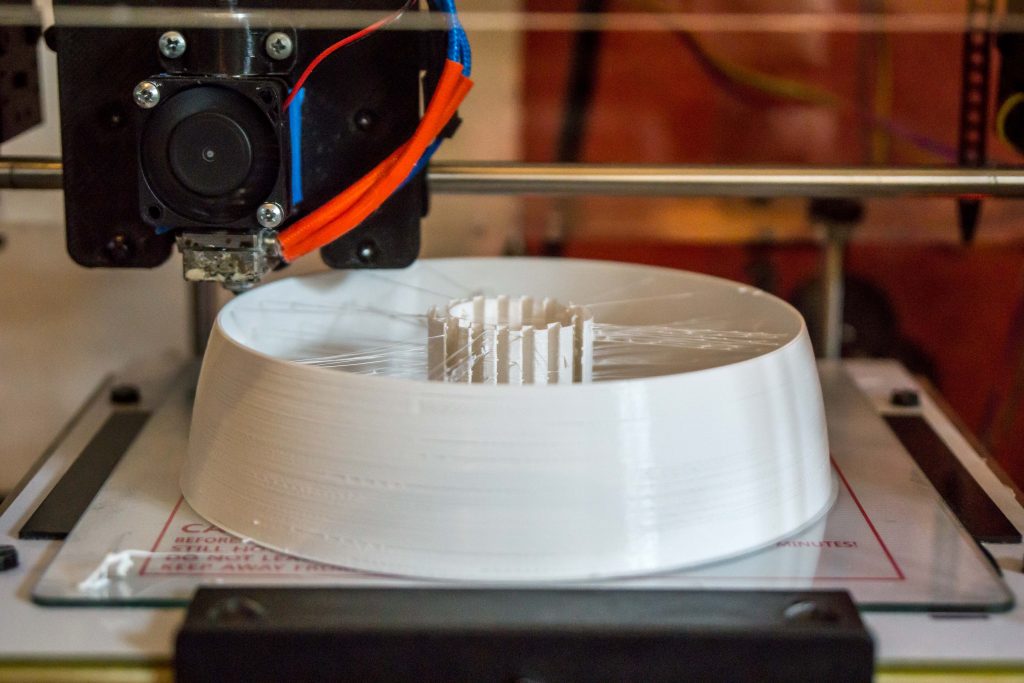
desk lamp lampshade

The project was started in july and was delayed because I had to build the MPCNC first but I´m almost finished by now. Pedestal and arms need to be cnced and some of the knobs are left to be printed.