C- Beam -finished

As promised, some pictures from the finished machine.

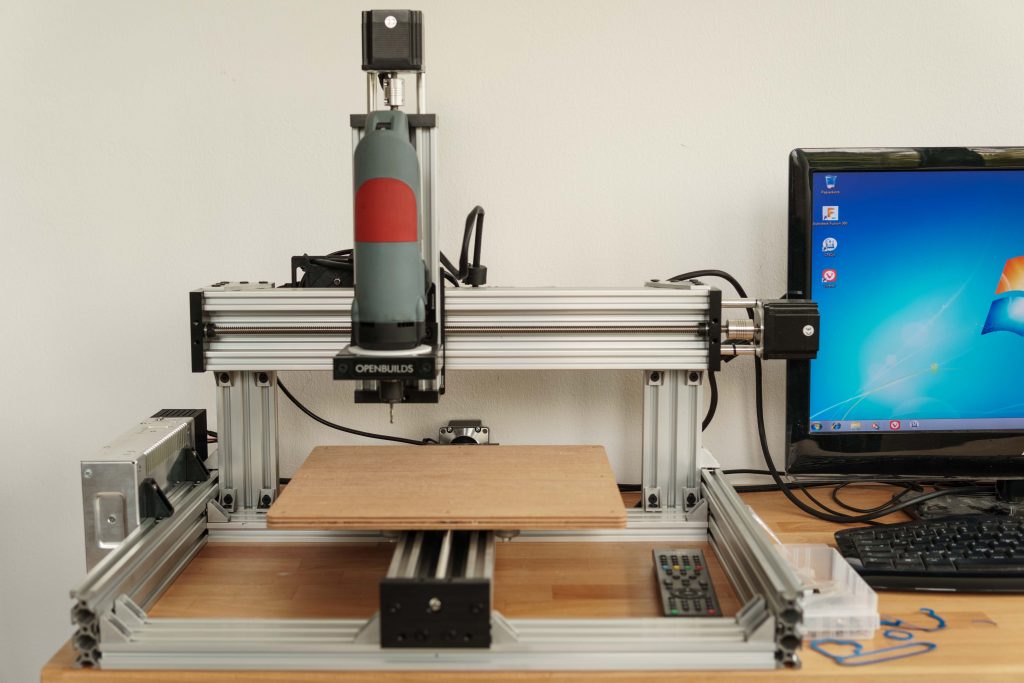
I used some plywood as the buildplate that I had in stock. A wasteboard needs to be added.

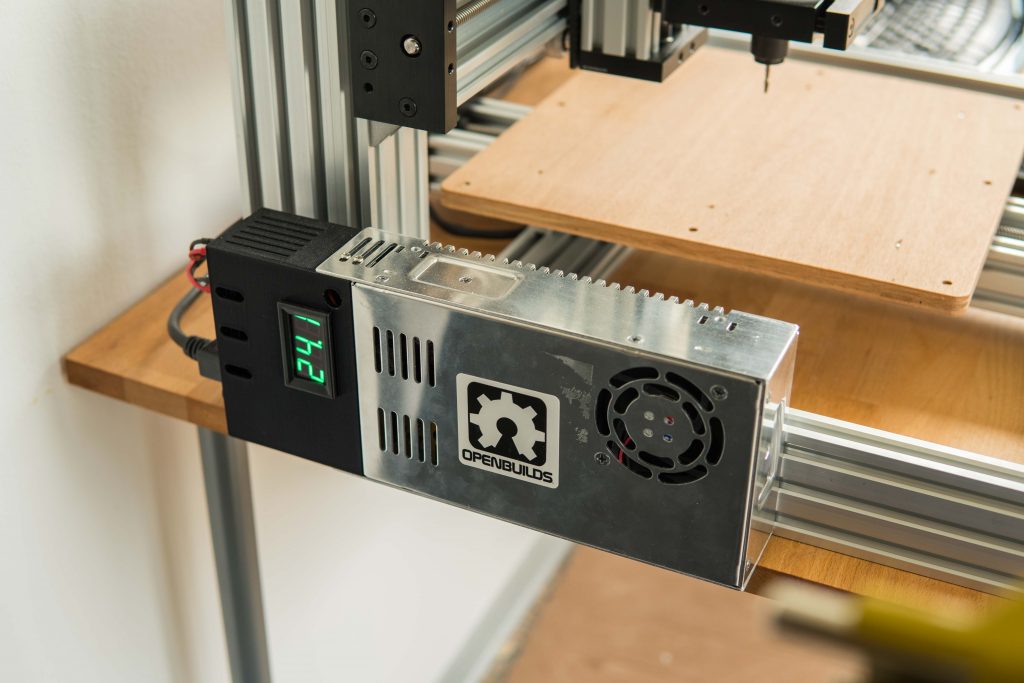
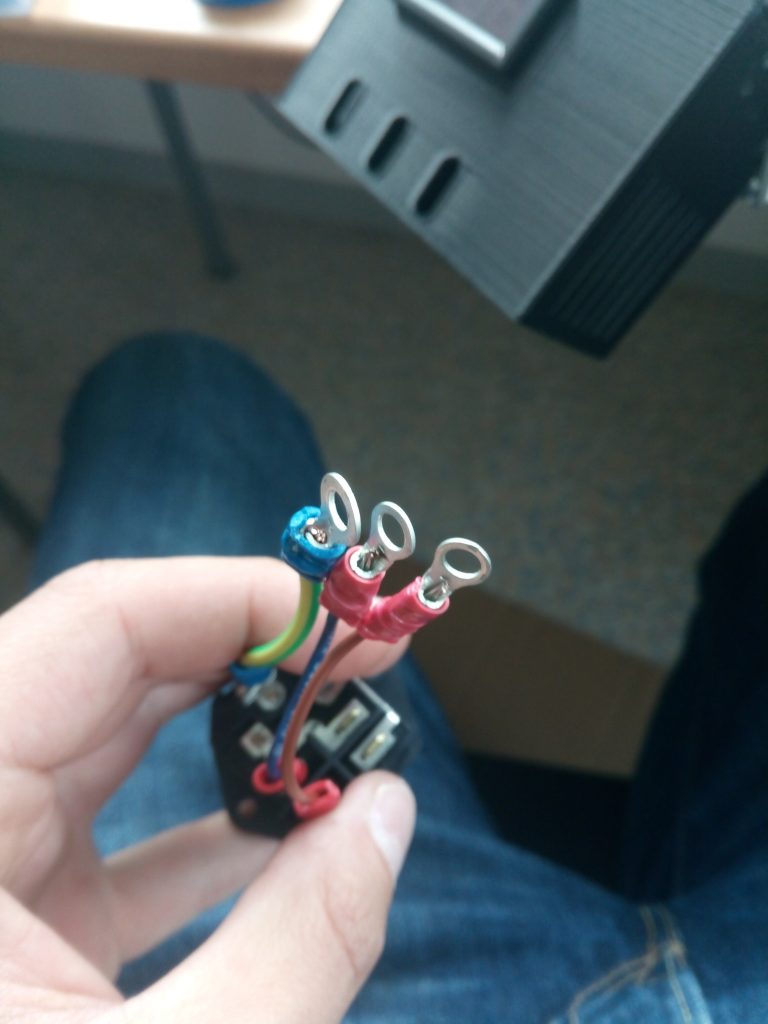
The power supply with the neat little lcd voltmeter. I send a notification to ooznest regarding the not so perfect crimp connections and they will look into it.

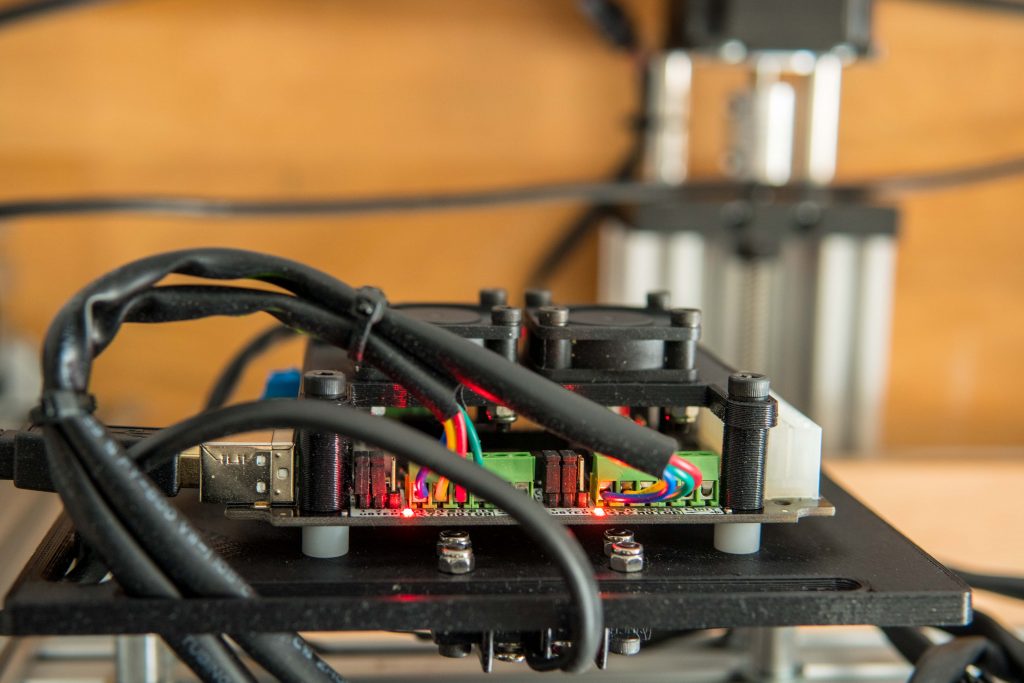
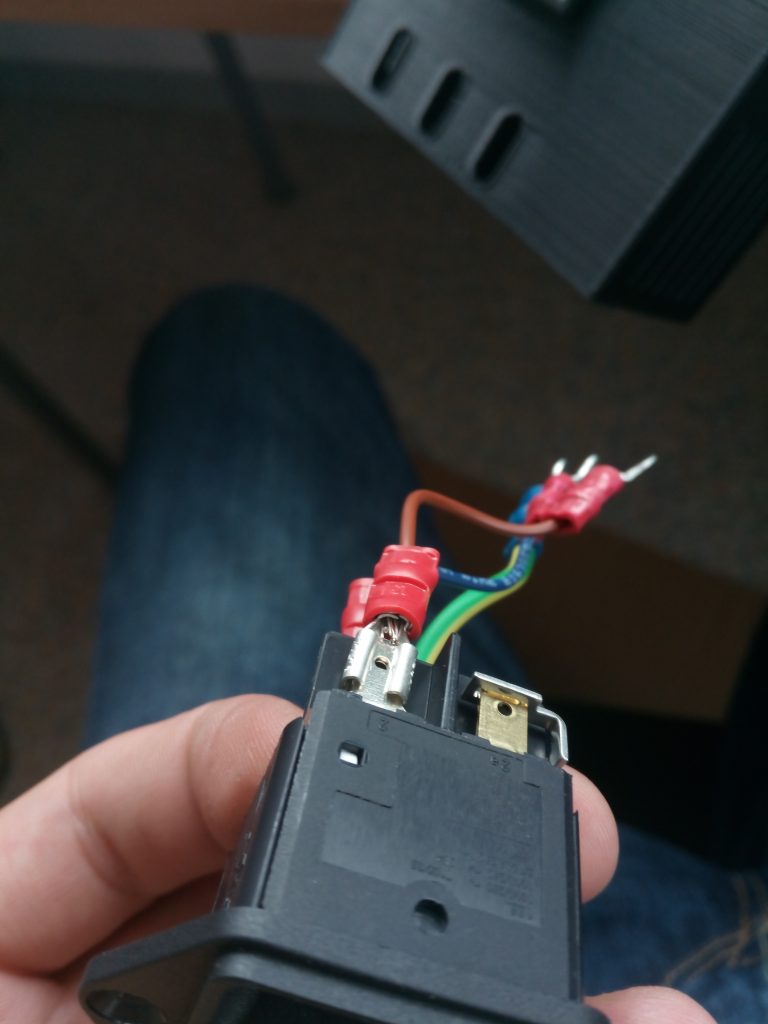
The wired controller. It was pretty noisy at the beginning but after some e-mails with the very kind and fast support at ooznest we narrowed it down to a single deffective fan. Could have happened during the build process or during shipping, despite the good packaging. Ooznest offered a replacement so thats not a problem anymore. I initially thought that the fan itself creates the unpleasant noise by design but the bearings were defect so one of them ran unsmooth.

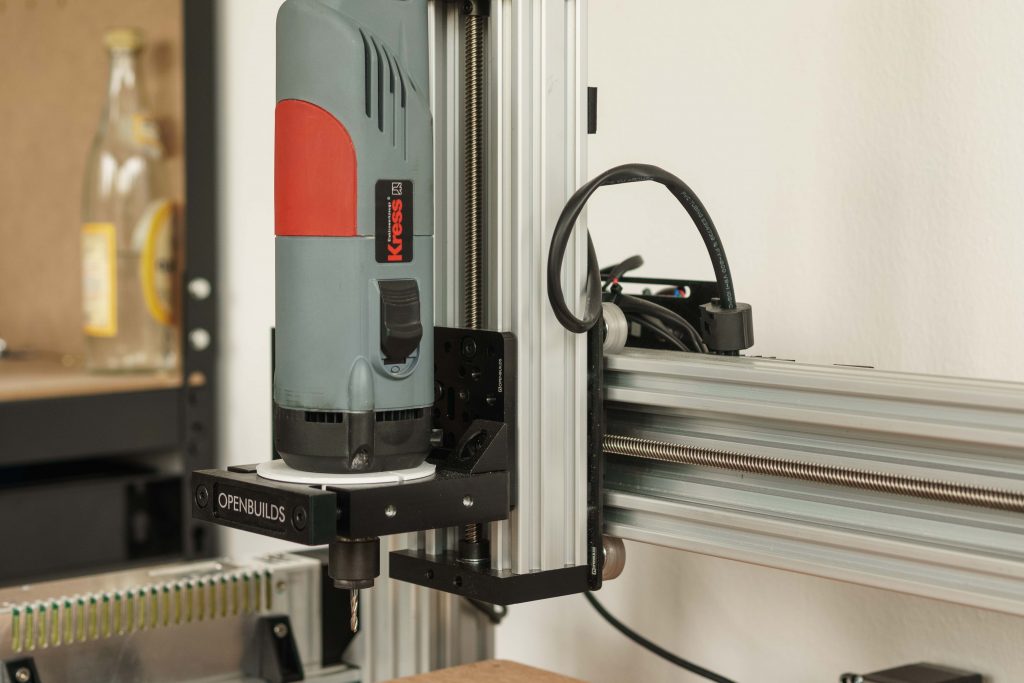
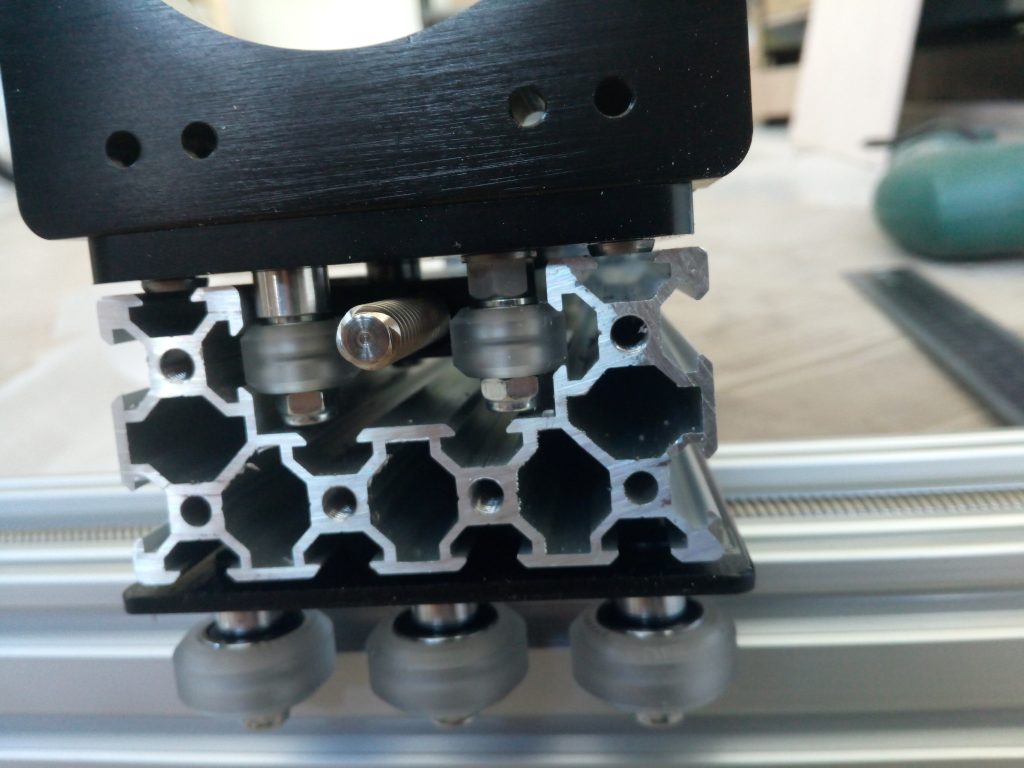
The spindle in position, I had to use an adapter from the 71mm to 43mm Euro mount. This might work for the first cuts. Would be nice to have a suitable option in the shop for a 43mm tool mount. It is stiff enough for now.

The first test cuts are still ahead so I can´t really say how it compares to a MPCNC just yet.


C-Beam – general build experience

I finished my C-Beam kit from Ooznest some days ago and I thought you might be interested in some of the „issues“ during the build

First of all, it has been a big pleasure to build this machine. When you´re designing things yourself most of the time there is a point where you just value a well thought out kit that just fits, as expected from a aluminum profile kit. 😛

It took roughly two afternoons to get everything together, followed up by some additonal hours of choosing the right software and adjusting the settings. Hendrik found a nice little programm called cnc.js. I had a look at the standard solutions openbuilds suggested and chllipeppr but they didn´t seemed quite right. It worked straight away and despite I haven´t tested it yet with a real cutting job I can really recommend it.

As I´m using the Kress from my MPCNC for testing purposes on the C-Beam I had to do some minor modifications to the tool clamp. I had to get it lower than the intended mounting point and all I had to do was grinding the screws a little down on the edges.

That way It was possible to screw the clamp from the backside of the plate securely. Not as good as the corners that are intended for this but it should work. At least two of them are securing the clamp from above.

What I didn´t liked so much and I suppose it´s not a common thing with the kit is the quality of the supplied cables. They were crimped on the isolation and that meant they didn´t had any reliable contact to the PSU. After three seconds the PSU switched off. My first thought was that the PSU was faulty and the second was that I might had connected something wrong. As I repeatedly check connections before I power something up I usually suspect the error elsewhere. 🙂

The bare metal shoudln´t stick out at the front and crimping the isolation leads to missing pressure on the cable itself causing a loose connection. I corrected this to get it stable and safe  and everthing works fine now.

Those were the only two points I had to modify. Everthing else went smoothly. Pictures from the final machine will follow soon 🙂

Openbuilds C-beam from Ooznest

I had the demand for some more serious aluminum milling. I did that with the MPCNC before and it was kind of okay but I wouldn´t like to mill higher part counts with it. The spindle gets  hot after some time and leads to more flex in the toolhead. It´s not made for aluminum so I looked around for a more suitable platform.

I found the openbuilds C-beam machine to be nicely designed and versatile enough to be worth adding to my machinepark. I looked around for a europe based shop and found openbuilds poland  , v slot europe and ooznest .

I decided to go with the ooznest version as they had the best full kit. I didn´t wanted to source all the parts from here and there. Sometimes it´s nice to have a complete package 🙂

The sipment was fast after the payment went trough and so I had a first look at the package today. All was nicely packed and labeled according to the build section like X, Y and Z Axis. The printed parts for the power supply and the controller board looked pretty nice and felt solid.

Can´t say much yet but a real manual would be more comfortable than a build video. It´s way faster to look at a drawing than to forward, play, stop, rewind, play, the buildvideo 😀

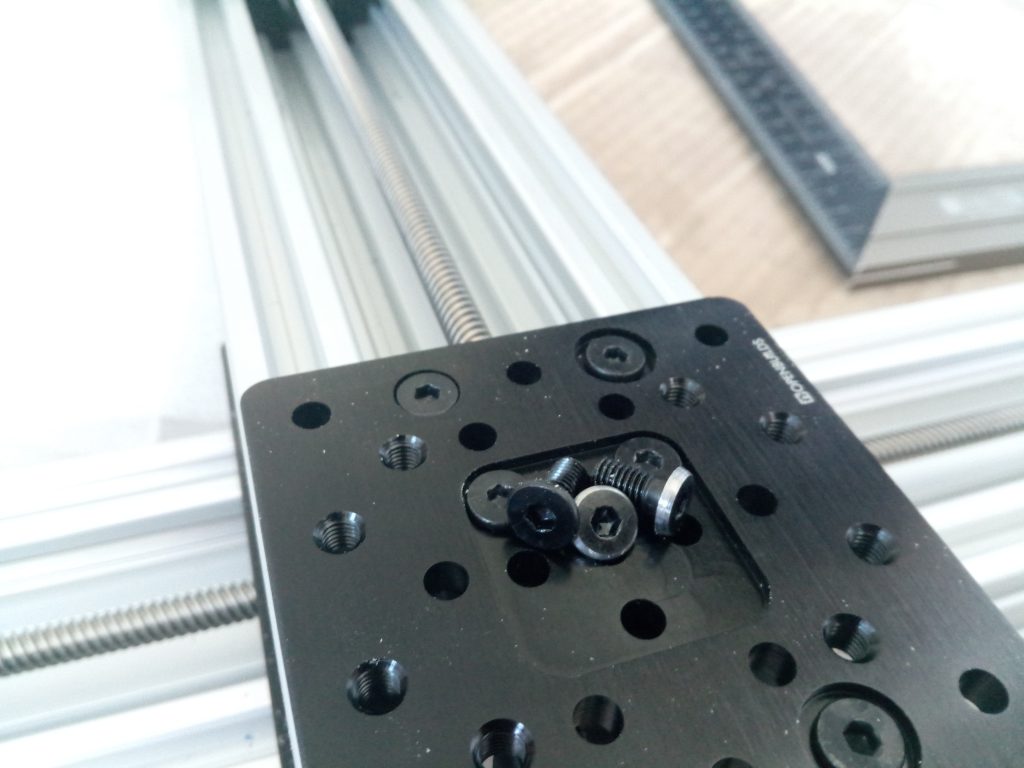
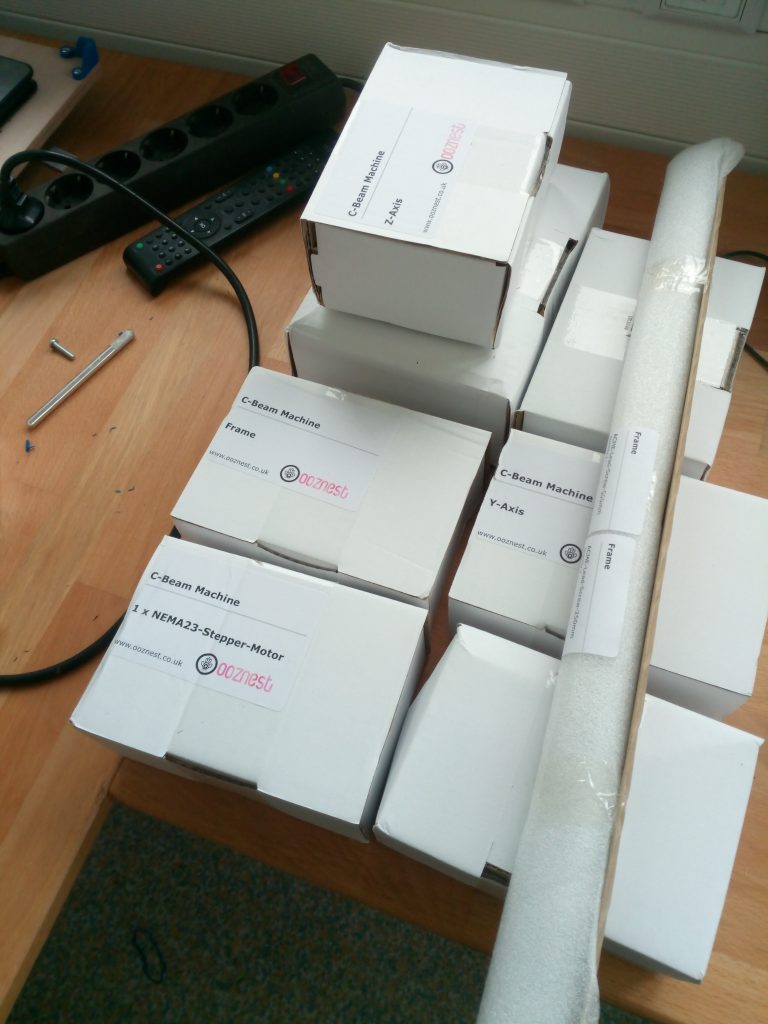
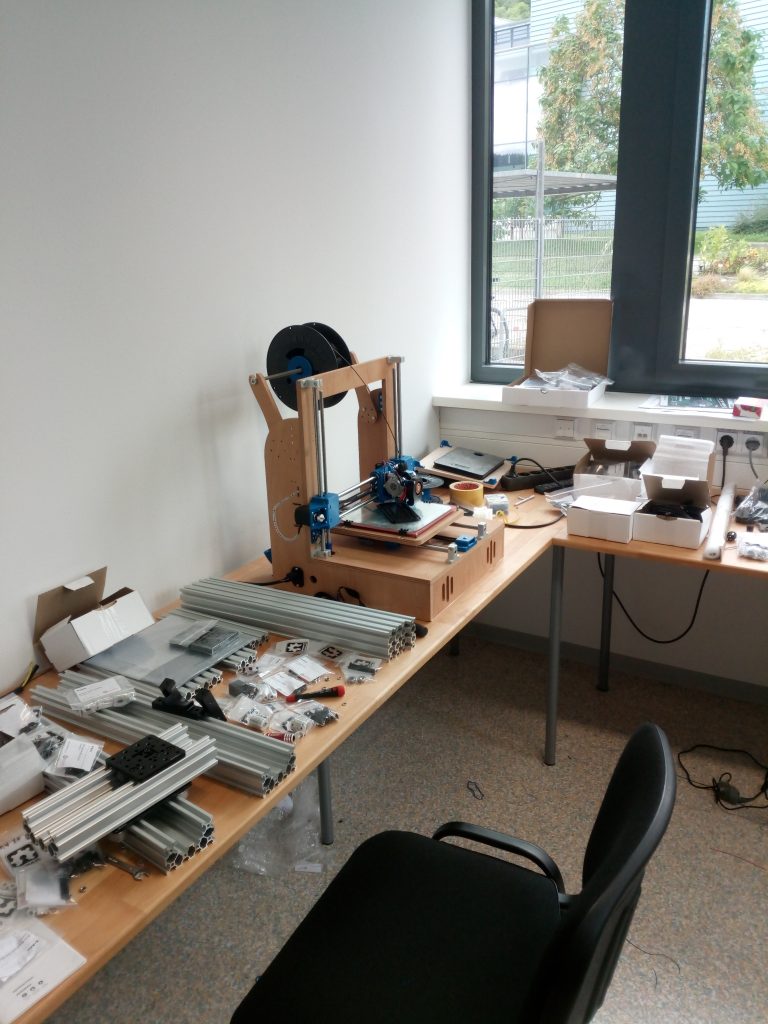
Ready for assembly 🙂