Fabrikator Wartung und Umbau auf E3D-Chimera zweifarb/material Hotend.

Mein Fabrikator druckt jetzt schon eine ganze Weile recht zuverlässig mit dem E3D V6 Hotend als Bowdenumbau. Etwas überdimensioniert, hat er damals ein Smoothieboard erhalten um die drucke ein wenig feiner und sicherer gegenüber dem Ramps zu machen, jedoch ist das Lautstärkelevel durch die A4988 sehr nervig. Daher die Idee das final nochmal umzubauen und das herumliegende Chimera-hotend mit zwei Titan Extrudern einer Bestimmung zuzuführen.

Als Board kommt wahrscheinlich ein Megatronics, bestückt mit DRV8825 aus der demontierten MPCNC, zum Einsatz.

Die neue Frontplatte sollte die Hitze des Chimera gut abführen und sieht auch recht wertig aus trotz des leicht stumpfen aber scheinbar unzerstörbaren Sorotec Fräsers. ( Versehentlich 5mm doc Vollnut bei 900mm/min für gut 200mm)

Hauptplatte mit erhobenem Sockel für den Chimera.

Openbuilds C-beam from Ooznest

I had the demand for some more serious aluminum milling. I did that with the MPCNC before and it was kind of okay but I wouldn´t like to mill higher part counts with it. The spindle gets  hot after some time and leads to more flex in the toolhead. It´s not made for aluminum so I looked around for a more suitable platform.

I found the openbuilds C-beam machine to be nicely designed and versatile enough to be worth adding to my machinepark. I looked around for a europe based shop and found openbuilds poland  , v slot europe and ooznest .

I decided to go with the ooznest version as they had the best full kit. I didn´t wanted to source all the parts from here and there. Sometimes it´s nice to have a complete package 🙂

The sipment was fast after the payment went trough and so I had a first look at the package today. All was nicely packed and labeled according to the build section like X, Y and Z Axis. The printed parts for the power supply and the controller board looked pretty nice and felt solid.

Can´t say much yet but a real manual would be more comfortable than a build video. It´s way faster to look at a drawing than to forward, play, stop, rewind, play, the buildvideo 😀

Ready for assembly 🙂

Desklamp „century“

It has been a while since the last post and the reason for that is the design and manufacturing of a desk lamp. The initial design differs from the final product as the whole process has been simplified a little. I gathered materials for three of them so the first one will serve as a production test to find out if everything fits. Once finished I am going to include the finer details.

Centuries desk lamp

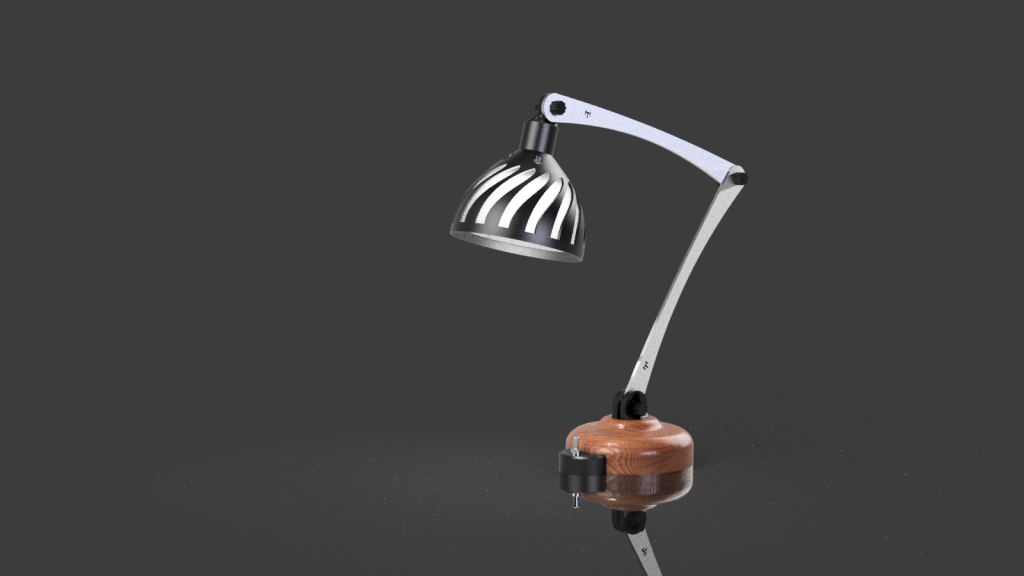
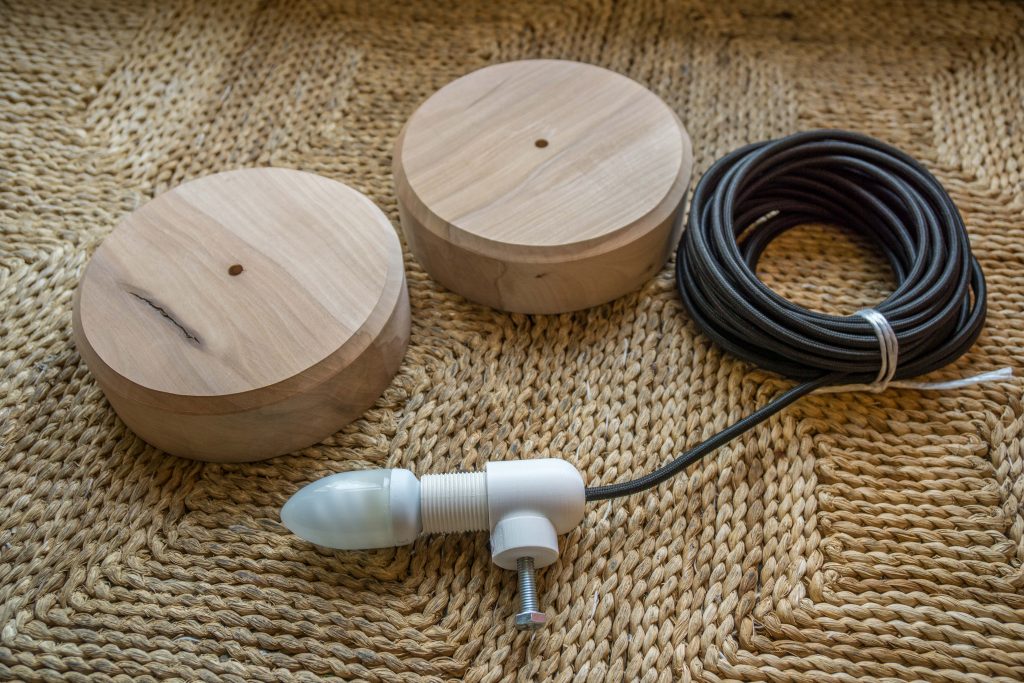
The pedestal is a 3D cnc piece made from walnut here. It has been changed to a more simple round apple wood base with a 10mm phase cut with a bandsaw. Since the apple wood has a real nice grain I like it even more by now. I made three of them and one is probably going to be machined on a lathe by a friend to get closer to the intended design.

Desk lamp parts

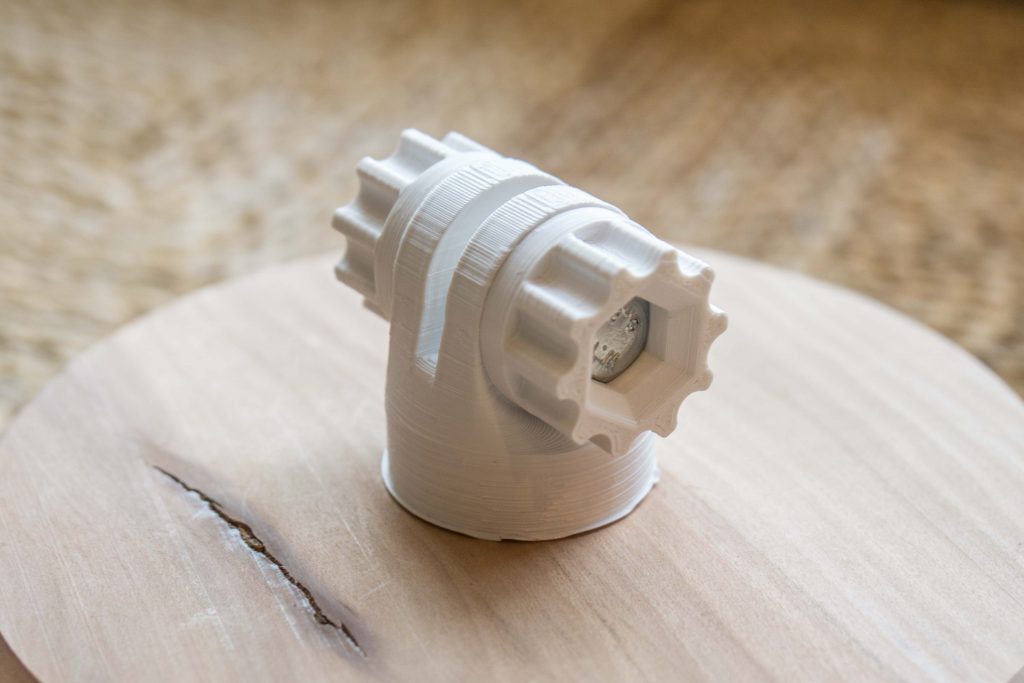
The switch case mounted in front is going to be replaced by an inline switch, this also eases up the amount of needed prints. The joint for the arms above has been redesigned and is now clamping instead of a bolt through design with three possible positions. I have not tested yet if the clamp produces enough force to hold the arms and the lampshade with all the components. I hope this works out well.

desk lmap arm clamp and joint

The arms should be made out of aluminium and I found some nice bars I can make them of. The first step will be to mill them out of some old wood planks I got. That is a good test to see if the dimensions of the parts work together well from a design perspective. The final arms are then milled as intended when the design is validated.

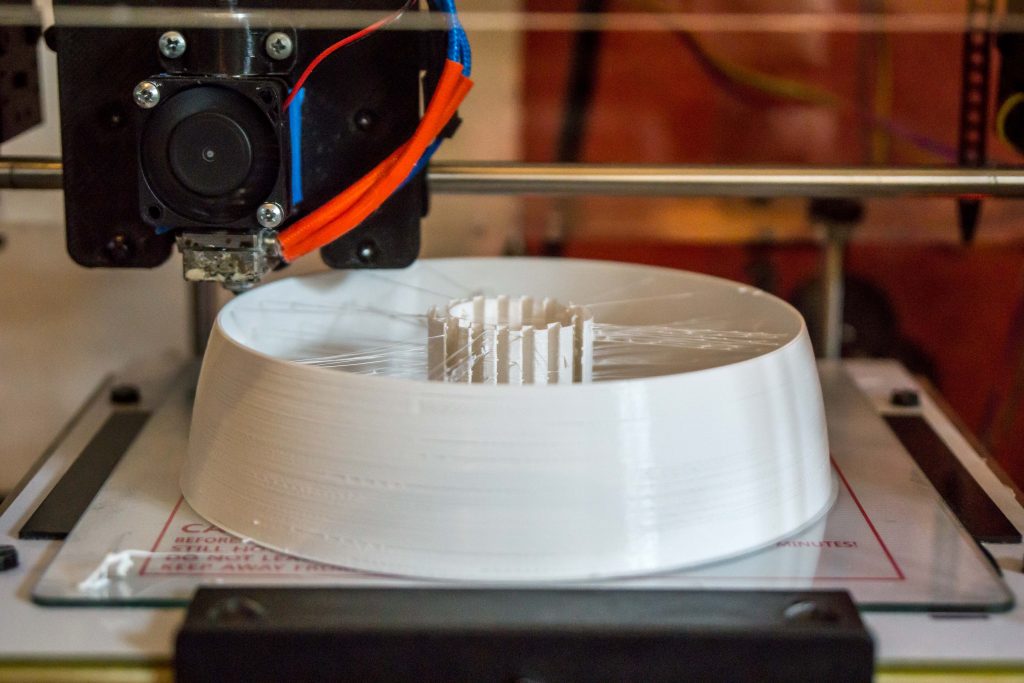
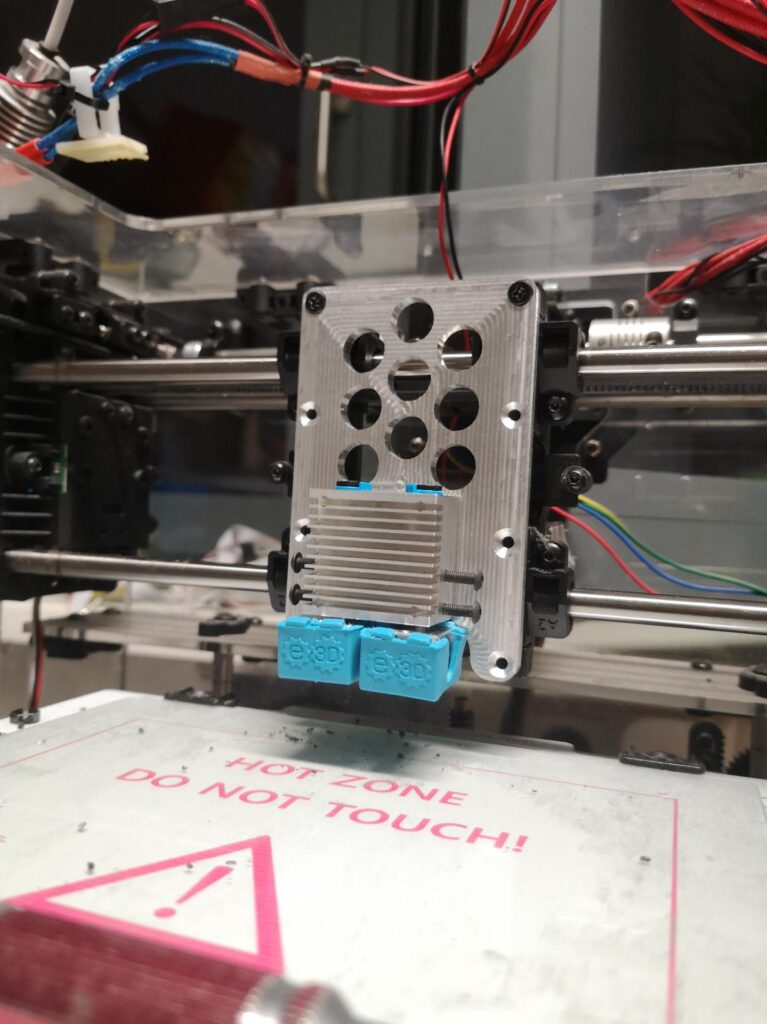
The lampshade is 3D printed and adapted to a regular E14 lamp socket. The threads came out usable on first try and I will keep those first parts.

desk lamp lampshade

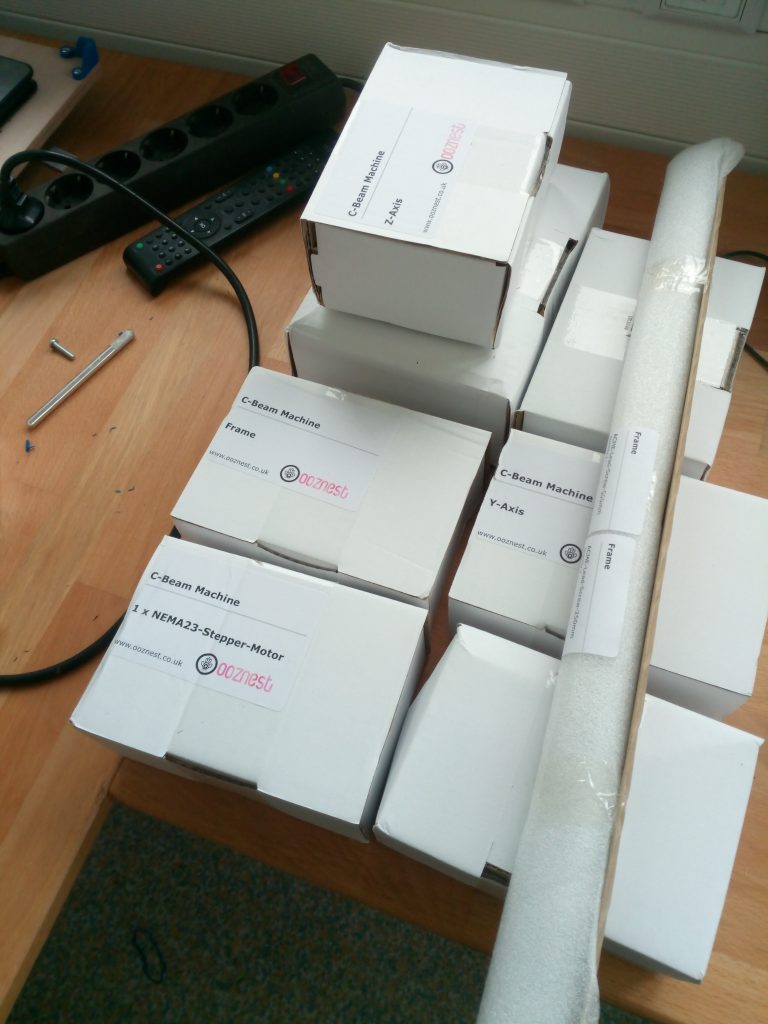
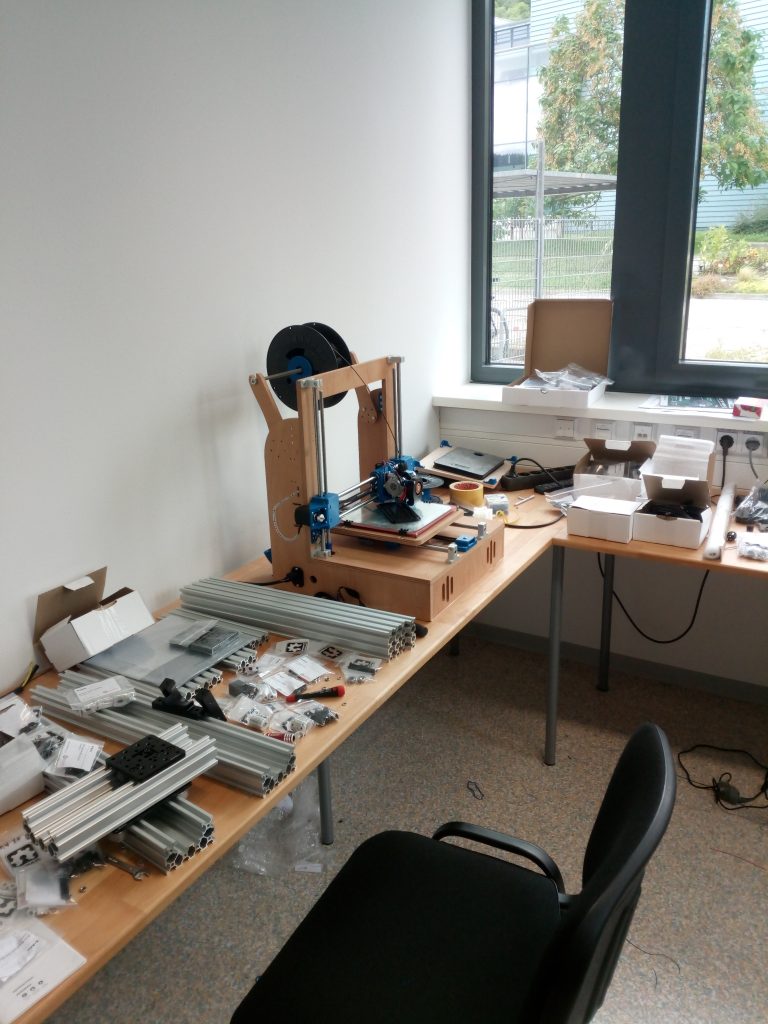
The project was started in july and was delayed because I had to build the MPCNC first but I´m almost finished by now. Pedestal and arms need to be cnced and some of the knobs are left to be printed.