C-Beam „touchCNC“

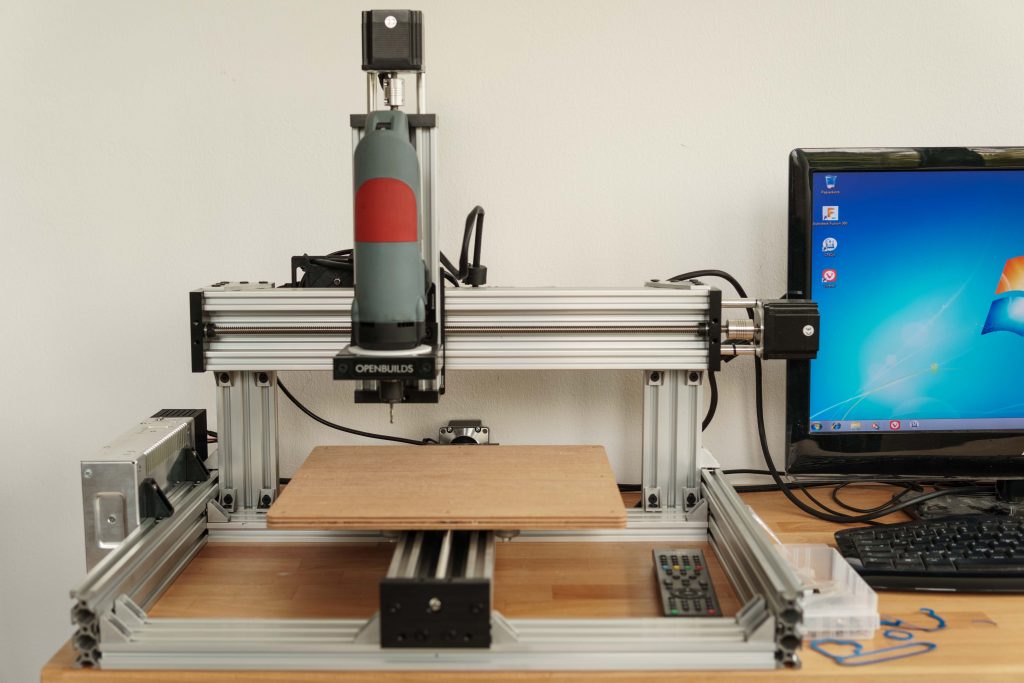
Ich hatte einiges probiert als Steuerung für die Fräse. Die meiste Zeit hatte ich Openbuildscontrol https://software.openbuilds.com auf einem kleinen Wohnzimmer PC (AMDFusion E350) laufen. Das funktionierte gut so lang wie beim Trochoidalfräsen oder Fusion adaptive nicht allzu viele Pfadsegmente gestreamt werden müssen. Das passiert selten aber wenn es passiert stottert der Ablauf was wiederum für den Fräser eine Belastung sein kann. Einen große Rechner wollte ich aber auch nicht wirklich daneben stellen also fing ich, nach der Steuerungslogik in den vorherigen Beiträgen, mit einer integrierten Steuerung an.

:

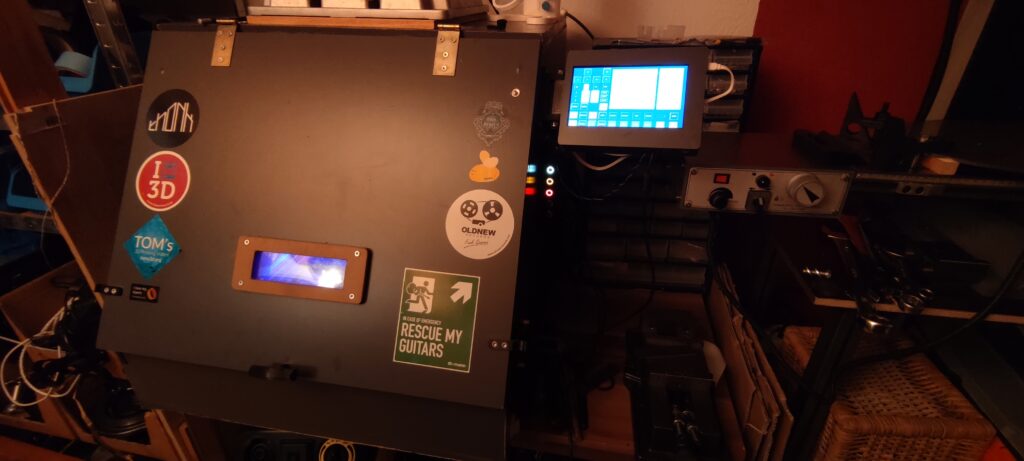
Akt 1 : Openbuildscontrol auf einem Odroid C2 mit TouchVU Screen

Das stellte sich etwas als knifflig heraus. Die Entwickler rieten schon von dem Einsatz auf arm Rechnern ab aber probieren muss man es jetzt ja trotzdem mal.

Ich habe draufhin das Script für die Installation auf dem Raspi auf den odroid c2 und armbian angepasst. Das lief dann irgendwann sogar allerdings musste ich die 3D-Ansicht deaktivieren. Somit hat man dann auch keine 2d Preview von irgendwas. Das ganze startete automatisch als einzelnes chrome Fenster ohne Desktop direkt nach dem Start und war sogar, naja ahm, nicht brauchbar. MAn konnte zwar einfach vo neinem anderen Rechenr den zu fräsenden Gcode einfach per Netzwerk auf die Fräse ziehen, da Openbuildscontrol als Server client Web Anwenung funktioniert, allerdings hat man dann nicht mehr viele Eingriffsmöglichkeiten auf dem Odroid. Es beschränkte sich auf Nullen und andere Vorbereitungsarbeiten. Das war mir ein bisschen zu wenig für den Materialeinsatz den man da ins Feld führt (Odroid + VU).

Nach einiger Zeit desintegrierte sich die Installation ohnehin aufgrund irgend eines Updates. Grr…

Akt 2: Vielleicht könnte man irgendwie doch was eigenes Schreiben?

Das war zunächst eine recht gewagte Vorstellung, jedoch war das auch nicht das erste mal das ich mich irgendwo fluchend durchgefräst hatte. Python kannte/konnte ich ja schon ein klein wenig von vorhergehenden Abenteuern und TKinter bin ich auch schonmal begegnet als ich die Minianwendung für meinen Zweibeinroboter geschrieben hatte. Ein passendes Buch zu Python 3 hatte ich auch seit geraumer Zeit und dieses erwies sich durchaus als nützlich.

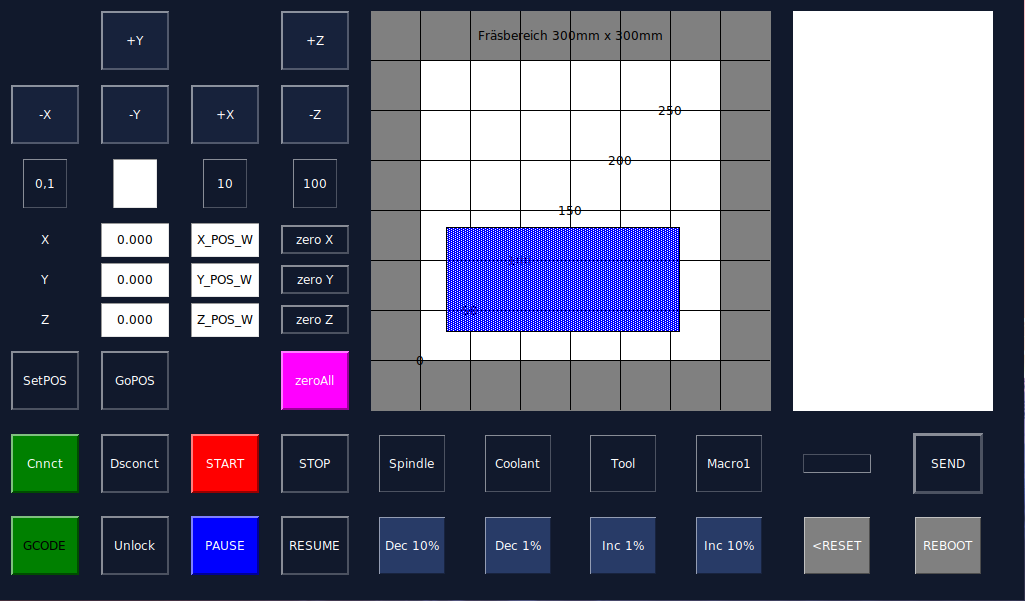
Einige Tage später hatte ich dann die erste einfache Version die auf den Odroid übertragbar war fertig und irgendwie fand ich das alles sehr sehr chic. Ein paar weitere Tage später lief auch der Gcode so weit rund und das Nullen und Joggen funktionierte auch super. Einzige einige Zeilen schien er dann und wann zu verschlucken und Arcs und ähnliche exotische (:D) Gcode Befehle waren ihm zunächst auch Fremd.

Updates lassen sich einfach über SSH zugriff und einem schlichten „git pull“ befehl ziehen und die NC Files landen per Nextcloud auf dem kleinen Rechner. Durch die minimalen Abhängigkeiten (0) sollte das auf jeder noch so staubigen Distribution laufen.

Der ganze Stolz

Ich gebe zu ich hab bisher trotzdem noch nichts damit gefräst, einfach weil das unter Zeitdruck eine sehr sehr schlechte Idee ist aber ich werde mir Mühe geben das ganze demnächst unter harten Einsatzbedingungen gnadenlos auszuloten.

Diese wirklich tolle Software findet ihr unter dieser Adresse: https://github.com/BKLronin/touchCNC

Danke für ihre Aufmerksamkeit.

P.S.:

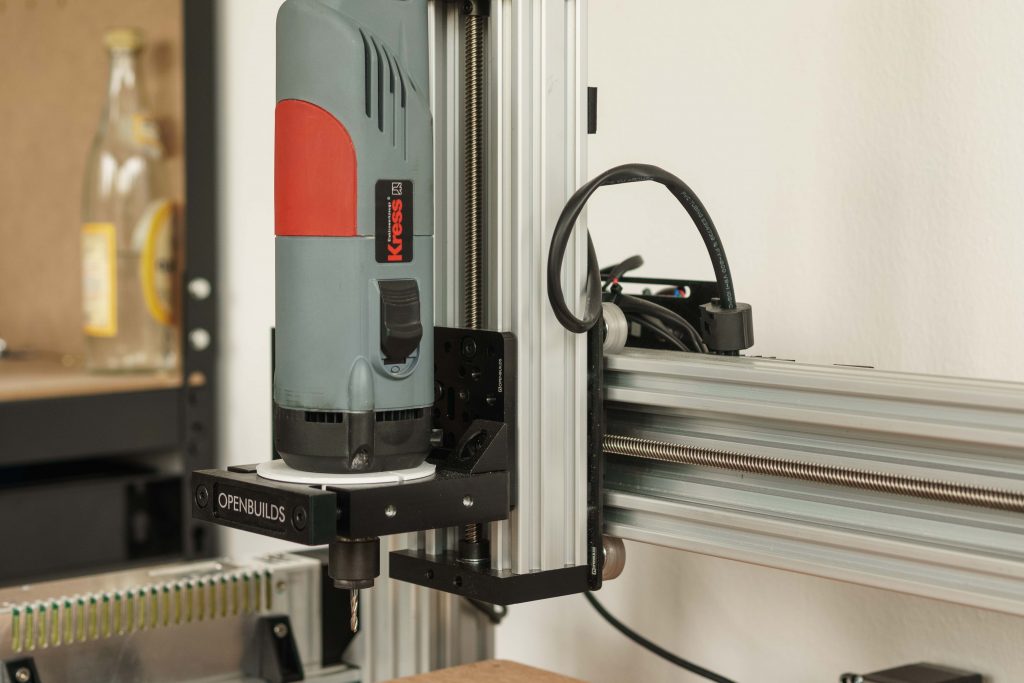
Mittlerweile gibt’s auch eine Tröpfchenkühlung die echt beim Alufinish hilft sowie eine neue Absaugung falls es Mal Holziger wird.

raise-d³: Milestone 2 geschafft, der Bausatz steht im Shop!

Ursprünglich lag der Fokus auf der Konstruktion von Drohnensystemen. Für die kompromissfreie Herstellung war mein Fabrikator aber einfach schlichtweg zu klein und konnte fast nur PLA drucken. Ich hab viel Zeit damit verbracht zu überlegen was ich mir für einen Drucker anschaffen sollte. Ich pendelte zwischen Ultimaker 2, Prusa Mk2 und Ryans MP3DP. Ich wollte aber zwingend ein Design das ich selbst relativ schnell anpassen kann, daher lag es nahe alles selbst entworfen zu haben um auch jeden Winkel des Aufbaus zu kennen und gleichzeitig tiefer in die Materie einzutauchen, da ich ja bisher das meiste Wissen bei Copter und Modellbau bzw Industrieelektronik erworben hatte.

Der erste Prototyp aus Siebdruckplatten vom örtlichen Baumarkt war schnell gebaut und hatte hohle 8mm „Linearwellen“ aus Aluminum. Das war natürlich die aller unterste Grenze und trotz der recht krummen  Leitspindeln sahen die Drucke relativ gut aus. Es gab deutlich Artefakte in Z aber für ein schnelles Konzept ganz erträglich.

Aus den gewonnen Erfahrungen und einem besseren Gefühl für das Design erwuchs dann der d³. Es war zur Abwechslung mal sehr entspannend nicht auf jedes Gramm wie im Copterbau achten zu müssen. Die jetzt eingesetzten 10mm Stahlführungen, die leicht zu beschaffen sind zeigten dann auch eine wesentlich höhere Genauigkeit und ich war wesentlich zufriedener mit dem gesamten Design. Als schwierig stellte sich jedoch das finden von größeren Ebenen Betten heraus. Dieses musste dann auch noch kompensiert werden da der Holzrahmen sich gern mal um wenige ,05 Millimeter bewegte. Durch den einbau des Servo ausfahrbaren Z-Tasters konnte das nun auch behoben werden, nachdem einiges an gefiddel mit dem Minitronics, an dem ich die Pins falsch abgezählt hatte, glücklich zu Ende ging.

Das ganze sollte auf kleineren Fräsen herstellbar sein als Außenmaß kam daher für meine kleine MPCNC 400 x 400mm in Frage daher auch die etwas untypische Bettform. Ich fand es wichtig alles so einfach wie möglich herstellen zu können und externe Dienstleister zu vermeiden. Zwar musste ich letztendlich doch extern fertigen lassen da meine Fräse nicht ganz rechteckig war, wodurch sich auch der etwas höhere Preis erklärt aber hey ich konnte immerhin die zwei Protoypen unkompliziert direkt fertigen. Derzeit wird das externe fertigen von http://teil-q.de übernommen die nebenbei auch sehr schönes Modellbauzubehör anbietet.

Ja was soll ich sagen. Ich bin wirklich sehr zufrieden mit dem Design. Sicher ist da auch etwas Subjektivität und Stolz dabei aber die Drucke laufen wirklich gut. Ich hatte bisher 5 verschiedene Drucker im professionellen Einsatz und alle waren sie irgendwo gut bis auf ein Modell das nicht zum zuverlässigen Drucken zu bringen war trotz des guten Druckbilds. Ich wollte einfach die gesamte Baufläche voll stellen können und nach Beendigung meine, oft auch mal komplizierten, Teile ohne Artifakte vom Bett nehmen und verwenden können. Dort bin ich nun endlich angekommen auch dank des tollen E3D- Titan das nach dem beheben der Kugellagerprobleme mit Ballistol sehr schöne Ergebnisse abliefert.

Damit ich weiter entwickeln kann, vom Teemaker bis zum Y6 Hexakopter, bin ich natürlich auch auf ein Einkommen angewiesen daher hab ich den kleinen schon erwähnten Shop eröffnet über den ich einen kleinen Teil der Entwicklungskosten decken möchte. Daher würde ich mich freuen wenn einige das Gesamtprojekt unterstützen möchten und nebenher die Bauzeit verkürzen.

https://raise-uav.com/projekte/raise-three-d/

Das ganze ist so Open-Source wie möglich gehalten. Mit Freecad bin ich einfach zu langsam obwohl ich damit eingestiegen bin, daher musste ich auf das für Maker und Bastler kostenlose Fusion 360 umschwenken. Es gibt dennoch ein STEP Modell für weitere Kompatibilität.

raise-d³ BETA auf Thingiverse veröffentlicht

Da er nun schon längere Zeit am Käfig rüttelt, konnte ich nichts anderes tun als zumindest  die beta Version von meiner prusa I3 Interpretation in die Wildnis zu entlassen.

Meinen erhabensten Dank an folgende Vorreiter und Supporter:

  • Das RepRap Projekt (Die Basis)
  • Marlin Firmware Creators
  • Josef Prusa (I3 und Vorläufer)
  • Gina Häußge (Octoprint)
  • E3D
  • Ryan Ted Zellar (Ohne die MPCNC wäre ich nicht auf die Idee gekommen mir eine Fräse zu bauen)
  • Micha S.
  • gafu
  • Thomas Sanladerer (Motivation und Knowledge)
  • u.v.m

https://www.thingiverse.com/thing:2655471

Dokumentation etc. auf https://raise-uav.com/projekte/raise-three-d/ oder im Git repo (latest) hier


C- Beam -finished

As promised, some pictures from the finished machine.

I used some plywood as the buildplate that I had in stock. A wasteboard needs to be added.

The power supply with the neat little lcd voltmeter. I send a notification to ooznest regarding the not so perfect crimp connections and they will look into it.

The wired controller. It was pretty noisy at the beginning but after some e-mails with the very kind and fast support at ooznest we narrowed it down to a single deffective fan. Could have happened during the build process or during shipping, despite the good packaging. Ooznest offered a replacement so thats not a problem anymore. I initially thought that the fan itself creates the unpleasant noise by design but the bearings were defect so one of them ran unsmooth.

The spindle in position, I had to use an adapter from the 71mm to 43mm Euro mount. This might work for the first cuts. Would be nice to have a suitable option in the shop for a 43mm tool mount. It is stiff enough for now.

The first test cuts are still ahead so I can´t really say how it compares to a MPCNC just yet.


MPCNC – „Cornerdefender“

My MPCNC showed some significant flex on the four main feet. I wanted to solve this quickly with small amounts of material and without additional hardware, except screws.

It might look kind of funny and when you already modified your corners in some other way or got them low, the aren´t necessary I guess. If you still got most of the original parts, this little gem will help 🙂

Bring the two feet in place, screw them down and the clamp will bring up the tension on the struts.

Files Include modified feet.

https://www.thingiverse.com/thing:2548942

Openbuilds C-beam from Ooznest

I had the demand for some more serious aluminum milling. I did that with the MPCNC before and it was kind of okay but I wouldn´t like to mill higher part counts with it. The spindle gets  hot after some time and leads to more flex in the toolhead. It´s not made for aluminum so I looked around for a more suitable platform.

I found the openbuilds C-beam machine to be nicely designed and versatile enough to be worth adding to my machinepark. I looked around for a europe based shop and found openbuilds poland  , v slot europe and ooznest .

I decided to go with the ooznest version as they had the best full kit. I didn´t wanted to source all the parts from here and there. Sometimes it´s nice to have a complete package 🙂

The sipment was fast after the payment went trough and so I had a first look at the package today. All was nicely packed and labeled according to the build section like X, Y and Z Axis. The printed parts for the power supply and the controller board looked pretty nice and felt solid.

Can´t say much yet but a real manual would be more comfortable than a build video. It´s way faster to look at a drawing than to forward, play, stop, rewind, play, the buildvideo 😀

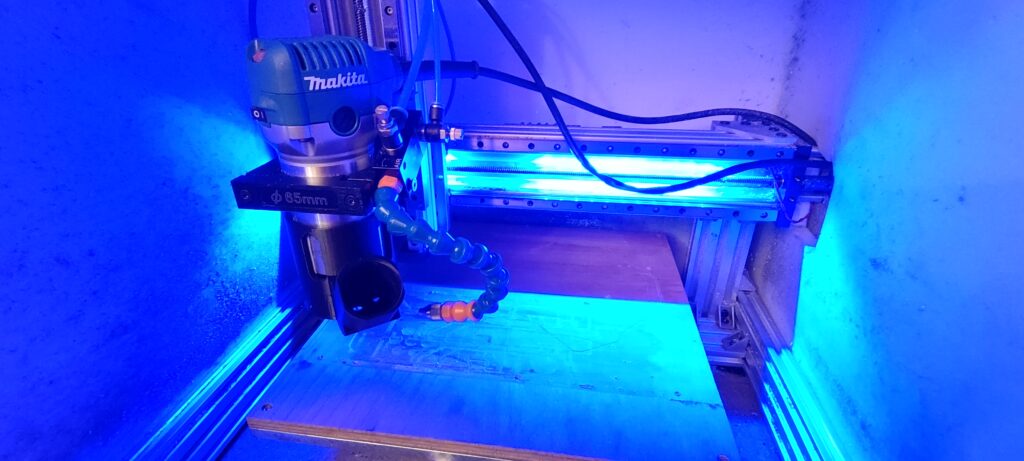
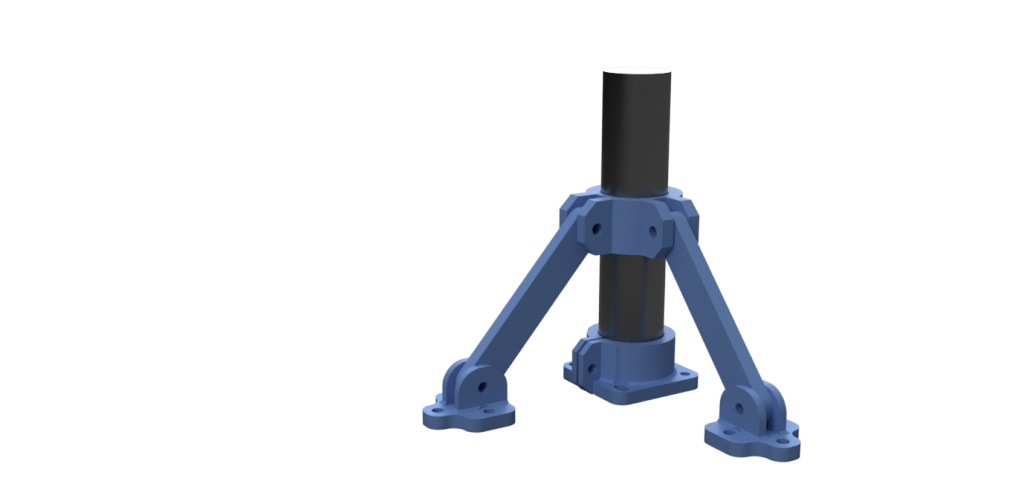
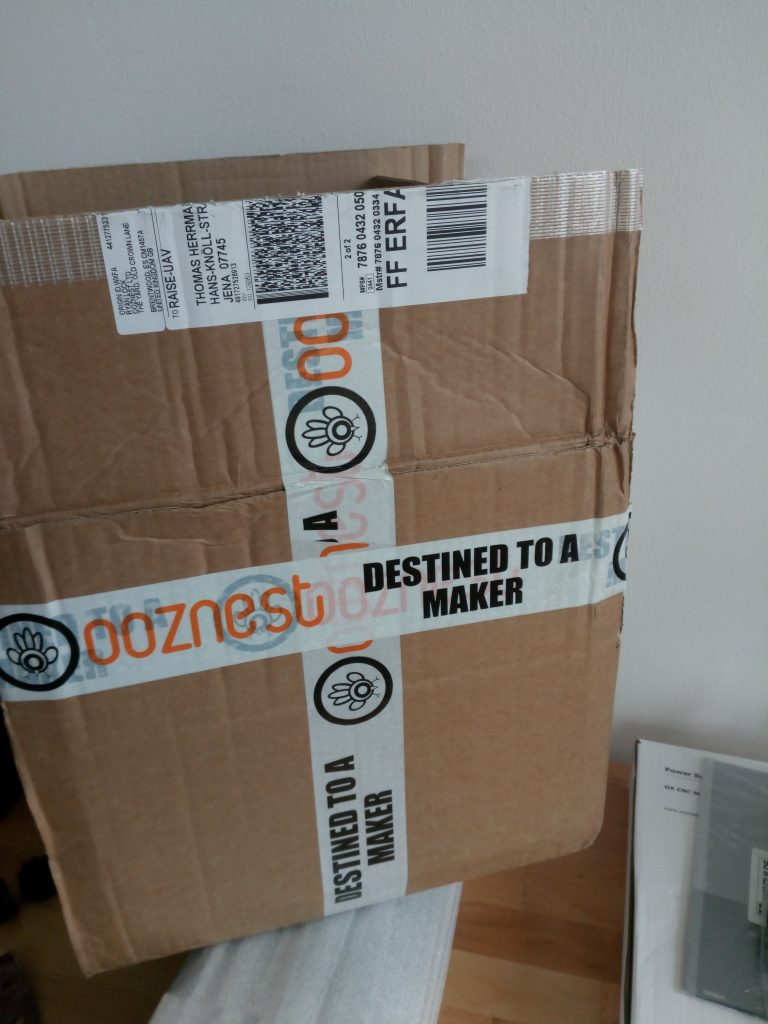
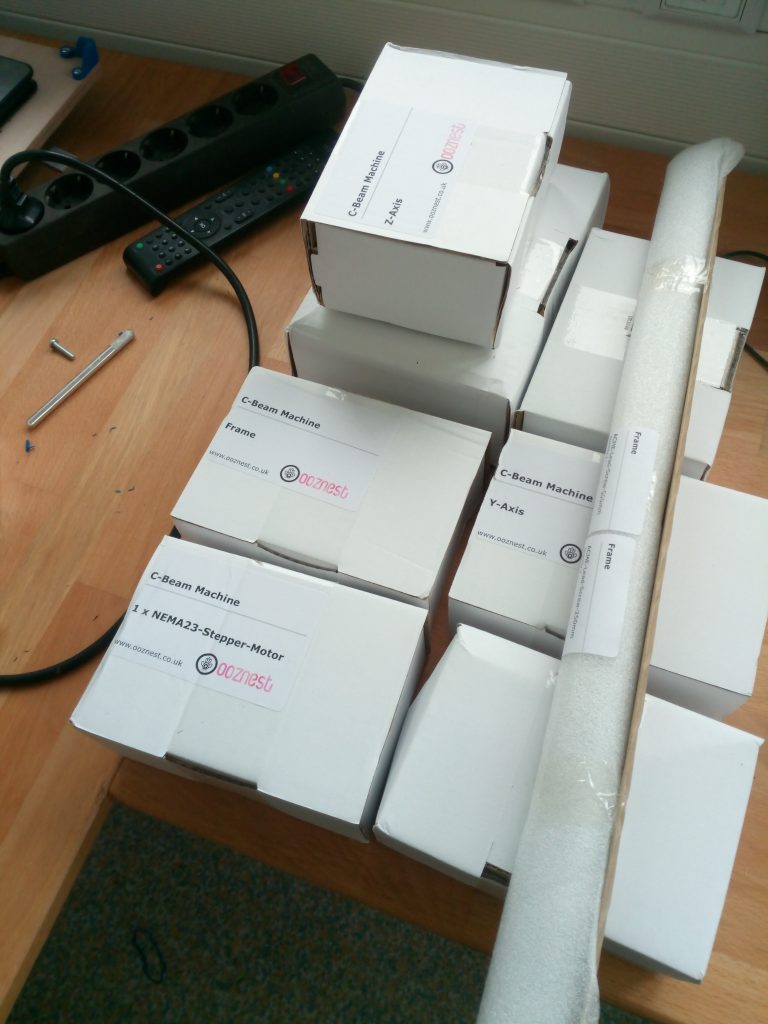
Ready for assembly 🙂

Building a MPCNC part 3- cutting

In order to find a suitable endmill I had to understand the principles involved first. That led me to feeds and speeds. The difficult part was to determine the limits of my cnc. I already had a look on that topic when I chose my Spindle. It has a minimum RPM of 10000 and a maimum of 29000 RPM so I decided to go for a 2 flute endmill with a diameter of 3 mm from cnc-plus.de. More on the calculation later..

After testing the gcode and finding out if the steps/mm of the steppers are dialed in correctly I used a simple ruler to check. Josef Prusas stepcalculator gave me 160 steps/mm and that resulted in the correct distance of movement with my 20 tooth pulleys. As I couldn´t  set the parameters from the graphic display I had to reflash the Marlin firmware.

I used a M8 threaded rod like suggested in the original plans. It is not meant for machine operations and so It loves to do what it is designed for. It binds pretty often, resetting the z axis position and making sudden, unexpected deep cuts as shown in the video below. It is the straightest rod I could find and it is well greased but it was necessary to lower the acceleration and speed. I only had this one piece of hardwood and I wanted this to suceed. I´m trying to get the speed back up again because the milling took ages (1h15min) because of the adaptive clearing and the many retractions of the tool head.

The 3D printed rigid couplers didn´t worked to well for me so I ordered a jaw coupler also from http://cnc-plus.de to make it more reliable.

In conclusion : I liked the results of the cuts and they were somehow thrilling. The accidentially super deep cuts showed that I can go much deeper than 3mm in one pass with hardwood. The method used here was also a test for the ultimate goal for cutting alumium sheet and composites.