C-Beam „touchCNC“

Ich hatte einiges probiert als Steuerung für die Fräse. Die meiste Zeit hatte ich Openbuildscontrol https://software.openbuilds.com auf einem kleinen Wohnzimmer PC (AMDFusion E350) laufen. Das funktionierte gut so lang wie beim Trochoidalfräsen oder Fusion adaptive nicht allzu viele Pfadsegmente gestreamt werden müssen. Das passiert selten aber wenn es passiert stottert der Ablauf was wiederum für den Fräser eine Belastung sein kann. Einen große Rechner wollte ich aber auch nicht wirklich daneben stellen also fing ich, nach der Steuerungslogik in den vorherigen Beiträgen, mit einer integrierten Steuerung an.

:

Akt 1 : Openbuildscontrol auf einem Odroid C2 mit TouchVU Screen

Das stellte sich etwas als knifflig heraus. Die Entwickler rieten schon von dem Einsatz auf arm Rechnern ab aber probieren muss man es jetzt ja trotzdem mal.

Ich habe draufhin das Script für die Installation auf dem Raspi auf den odroid c2 und armbian angepasst. Das lief dann irgendwann sogar allerdings musste ich die 3D-Ansicht deaktivieren. Somit hat man dann auch keine 2d Preview von irgendwas. Das ganze startete automatisch als einzelnes chrome Fenster ohne Desktop direkt nach dem Start und war sogar, naja ahm, nicht brauchbar. MAn konnte zwar einfach vo neinem anderen Rechenr den zu fräsenden Gcode einfach per Netzwerk auf die Fräse ziehen, da Openbuildscontrol als Server client Web Anwenung funktioniert, allerdings hat man dann nicht mehr viele Eingriffsmöglichkeiten auf dem Odroid. Es beschränkte sich auf Nullen und andere Vorbereitungsarbeiten. Das war mir ein bisschen zu wenig für den Materialeinsatz den man da ins Feld führt (Odroid + VU).

Nach einiger Zeit desintegrierte sich die Installation ohnehin aufgrund irgend eines Updates. Grr…

Akt 2: Vielleicht könnte man irgendwie doch was eigenes Schreiben?

Das war zunächst eine recht gewagte Vorstellung, jedoch war das auch nicht das erste mal das ich mich irgendwo fluchend durchgefräst hatte. Python kannte/konnte ich ja schon ein klein wenig von vorhergehenden Abenteuern und TKinter bin ich auch schonmal begegnet als ich die Minianwendung für meinen Zweibeinroboter geschrieben hatte. Ein passendes Buch zu Python 3 hatte ich auch seit geraumer Zeit und dieses erwies sich durchaus als nützlich.
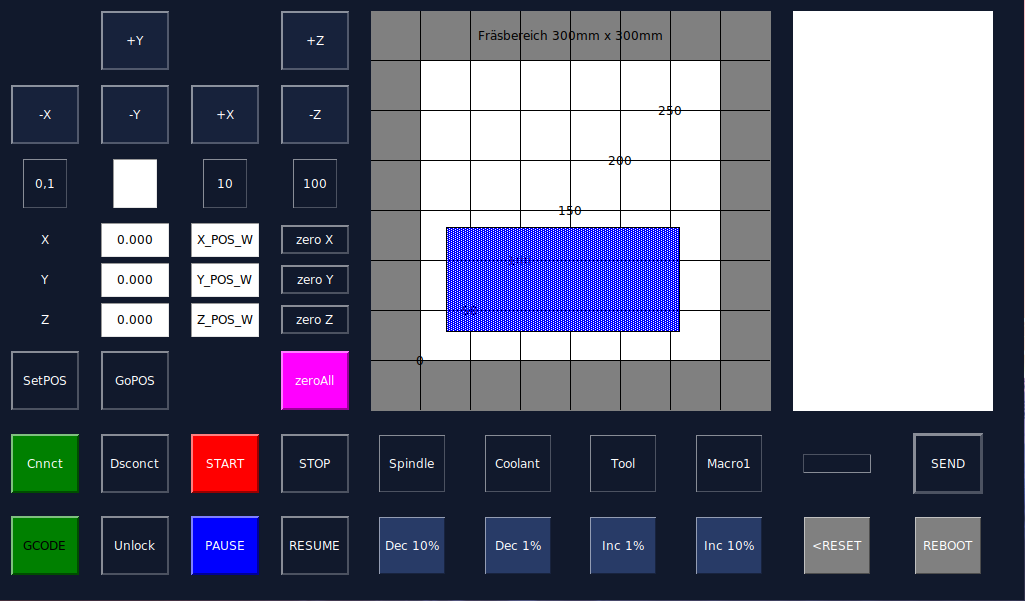
Einige Tage später hatte ich dann die erste einfache Version die auf den Odroid übertragbar war fertig und irgendwie fand ich das alles sehr sehr chic. Ein paar weitere Tage später lief auch der Gcode so weit rund und das Nullen und Joggen funktionierte auch super. Einzige einige Zeilen schien er dann und wann zu verschlucken und Arcs und ähnliche exotische (:D) Gcode Befehle waren ihm zunächst auch Fremd.

Updates lassen sich einfach über SSH zugriff und einem schlichten „git pull“ befehl ziehen und die NC Files landen per Nextcloud auf dem kleinen Rechner. Durch die minimalen Abhängigkeiten (0) sollte das auf jeder noch so staubigen Distribution laufen.
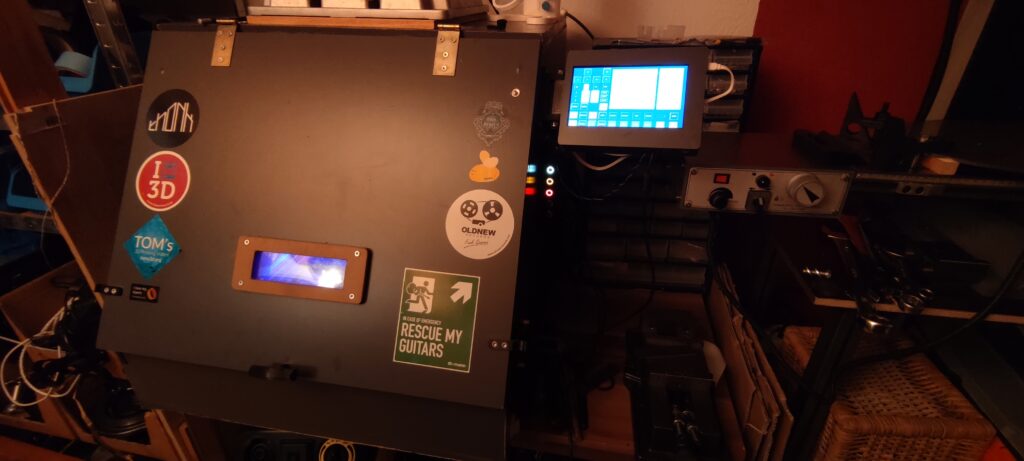
Der ganze Stolz

Ich gebe zu ich hab bisher trotzdem noch nichts damit gefräst, einfach weil das unter Zeitdruck eine sehr sehr schlechte Idee ist aber ich werde mir Mühe geben das ganze demnächst unter harten Einsatzbedingungen gnadenlos auszuloten.

Diese wirklich tolle Software findet ihr unter dieser Adresse: https://github.com/BKLronin/touchCNC

Danke für ihre Aufmerksamkeit.

P.S.:

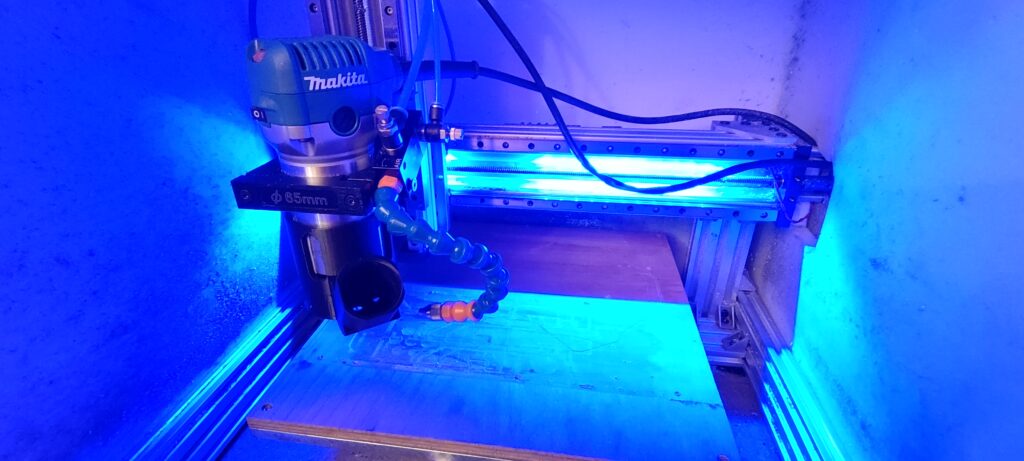
Mittlerweile gibt’s auch eine Tröpfchenkühlung die echt beim Alufinish hilft sowie eine neue Absaugung falls es Mal Holziger wird.
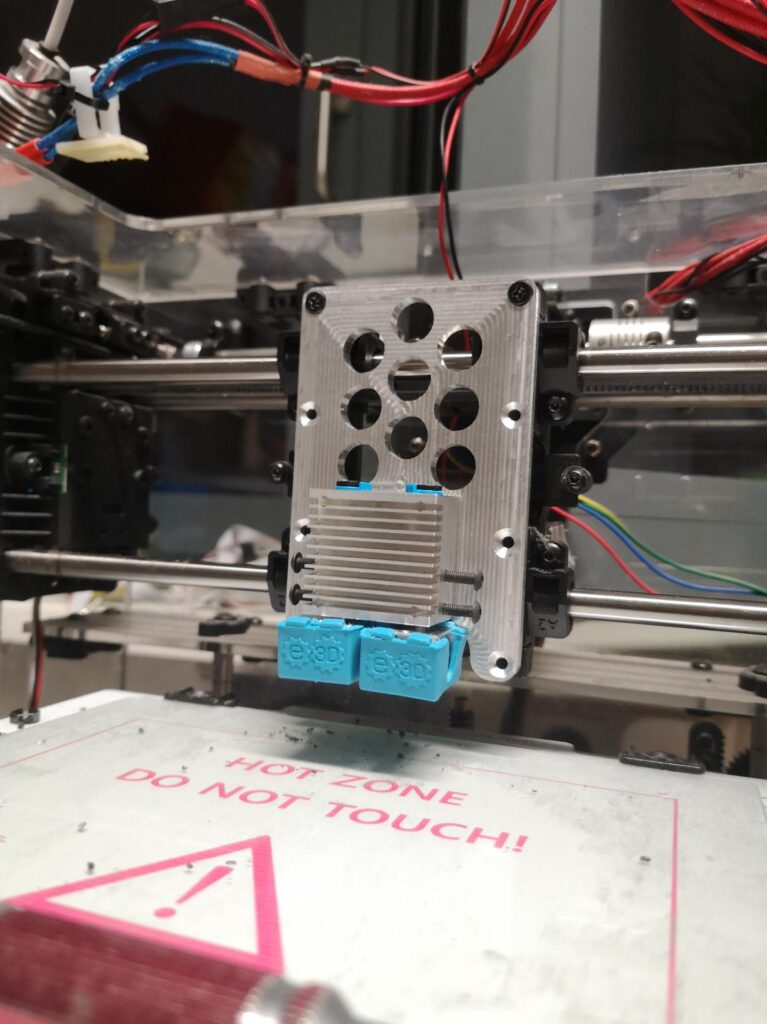
Fabrikator Wartung und Umbau auf E3D-Chimera zweifarb/material Hotend.

Mein Fabrikator druckt jetzt schon eine ganze Weile recht zuverlässig mit dem E3D V6 Hotend als Bowdenumbau. Etwas überdimensioniert, hat er damals ein Smoothieboard erhalten um die drucke ein wenig feiner und sicherer gegenüber dem Ramps zu machen, jedoch ist das Lautstärkelevel durch die A4988 sehr nervig. Daher die Idee das final nochmal umzubauen und das herumliegende Chimera-hotend mit zwei Titan Extrudern einer Bestimmung zuzuführen.

Als Board kommt wahrscheinlich ein Megatronics, bestückt mit DRV8825 aus der demontierten MPCNC, zum Einsatz.

Die neue Frontplatte sollte die Hitze des Chimera gut abführen und sieht auch recht wertig aus trotz des leicht stumpfen aber scheinbar unzerstörbaren Sorotec Fräsers. ( Versehentlich 5mm doc Vollnut bei 900mm/min für gut 200mm)

Hauptplatte mit erhobenem Sockel für den Chimera.

MPCNC – „Cornerdefender“

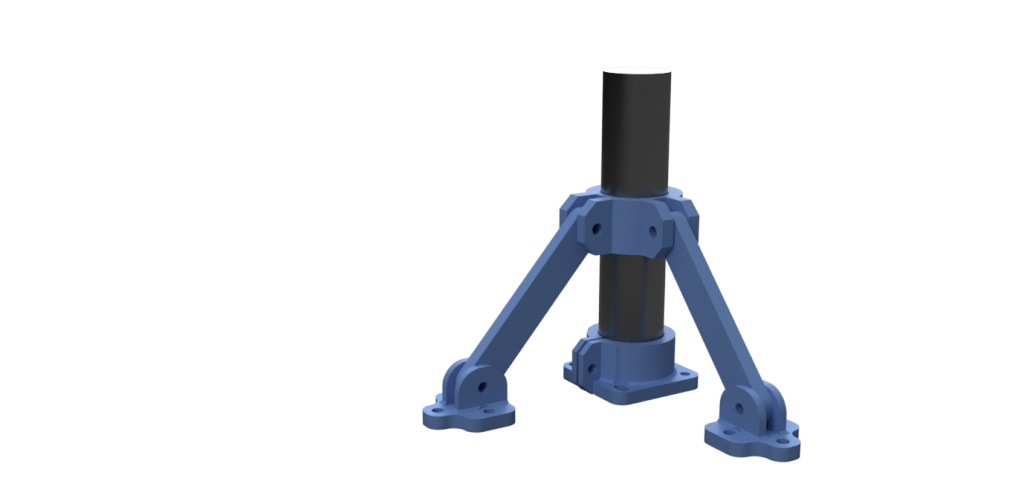
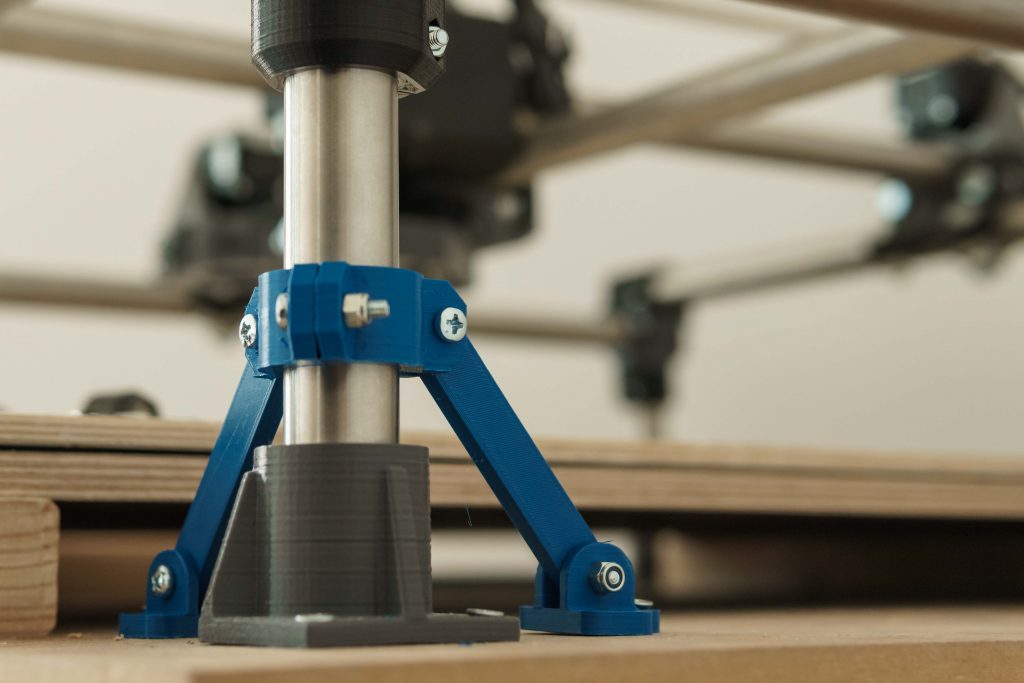
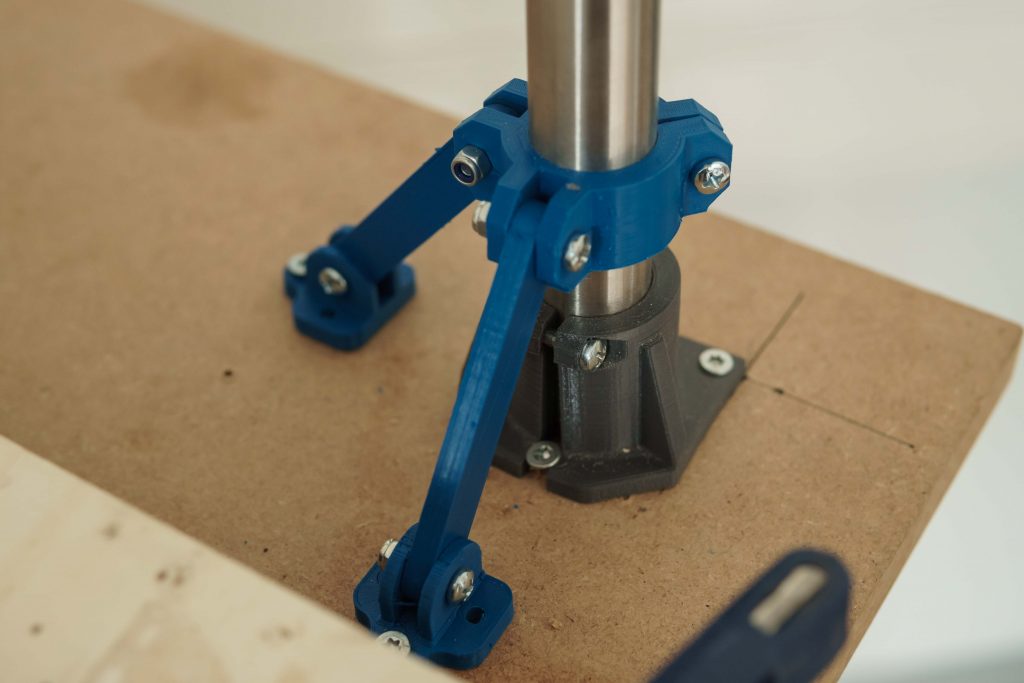
My MPCNC showed some significant flex on the four main feet. I wanted to solve this quickly with small amounts of material and without additional hardware, except screws.

It might look kind of funny and when you already modified your corners in some other way or got them low, the aren´t necessary I guess. If you still got most of the original parts, this little gem will help 🙂

Bring the two feet in place, screw them down and the clamp will bring up the tension on the struts.

Files Include modified feet.

https://www.thingiverse.com/thing:2548942

Openbuilds C-beam from Ooznest

I had the demand for some more serious aluminum milling. I did that with the MPCNC before and it was kind of okay but I wouldn´t like to mill higher part counts with it. The spindle gets  hot after some time and leads to more flex in the toolhead. It´s not made for aluminum so I looked around for a more suitable platform.

I found the openbuilds C-beam machine to be nicely designed and versatile enough to be worth adding to my machinepark. I looked around for a europe based shop and found openbuilds poland  , v slot europe and ooznest .

I decided to go with the ooznest version as they had the best full kit. I didn´t wanted to source all the parts from here and there. Sometimes it´s nice to have a complete package 🙂

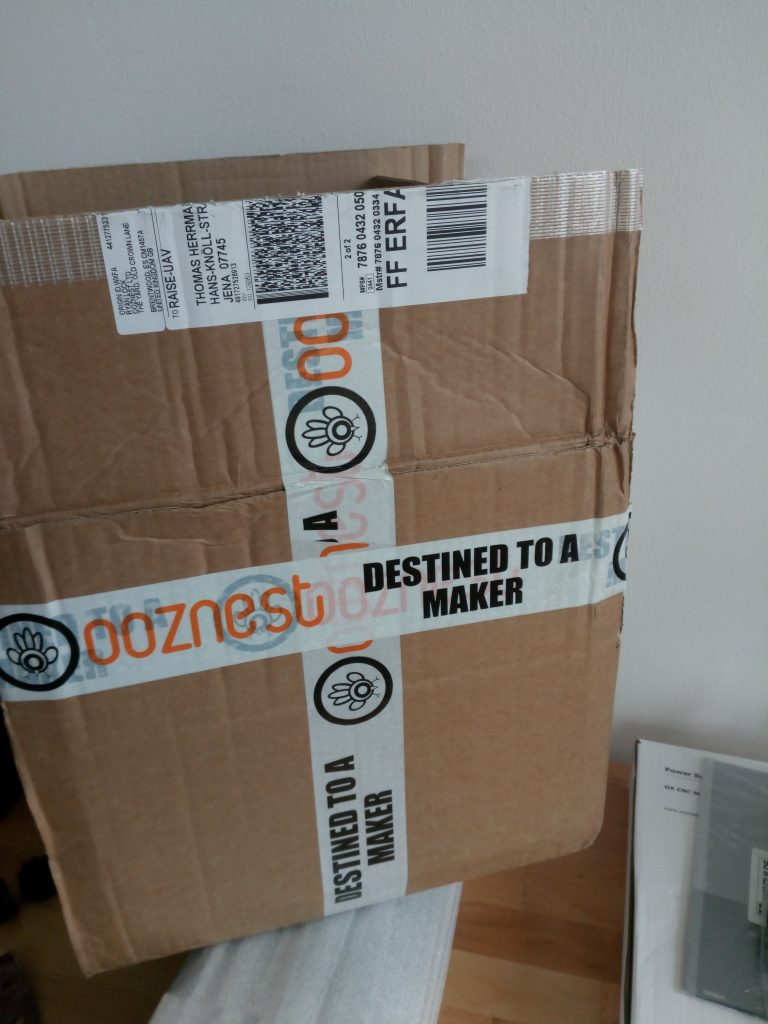
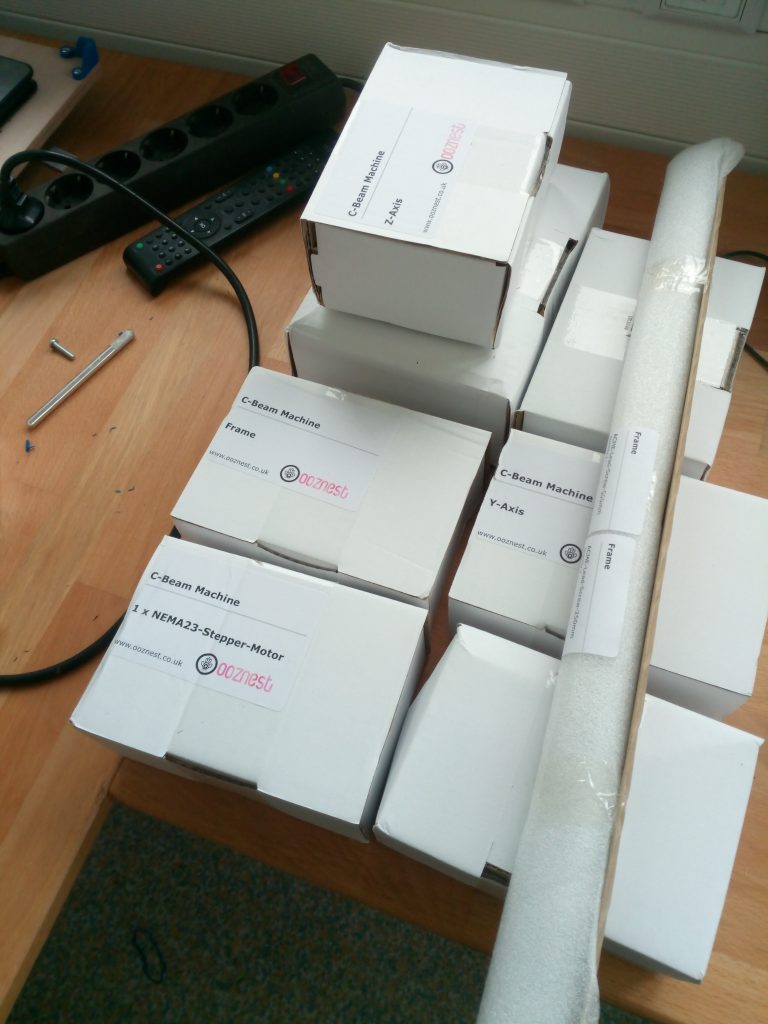
The sipment was fast after the payment went trough and so I had a first look at the package today. All was nicely packed and labeled according to the build section like X, Y and Z Axis. The printed parts for the power supply and the controller board looked pretty nice and felt solid.

Can´t say much yet but a real manual would be more comfortable than a build video. It´s way faster to look at a drawing than to forward, play, stop, rewind, play, the buildvideo 😀

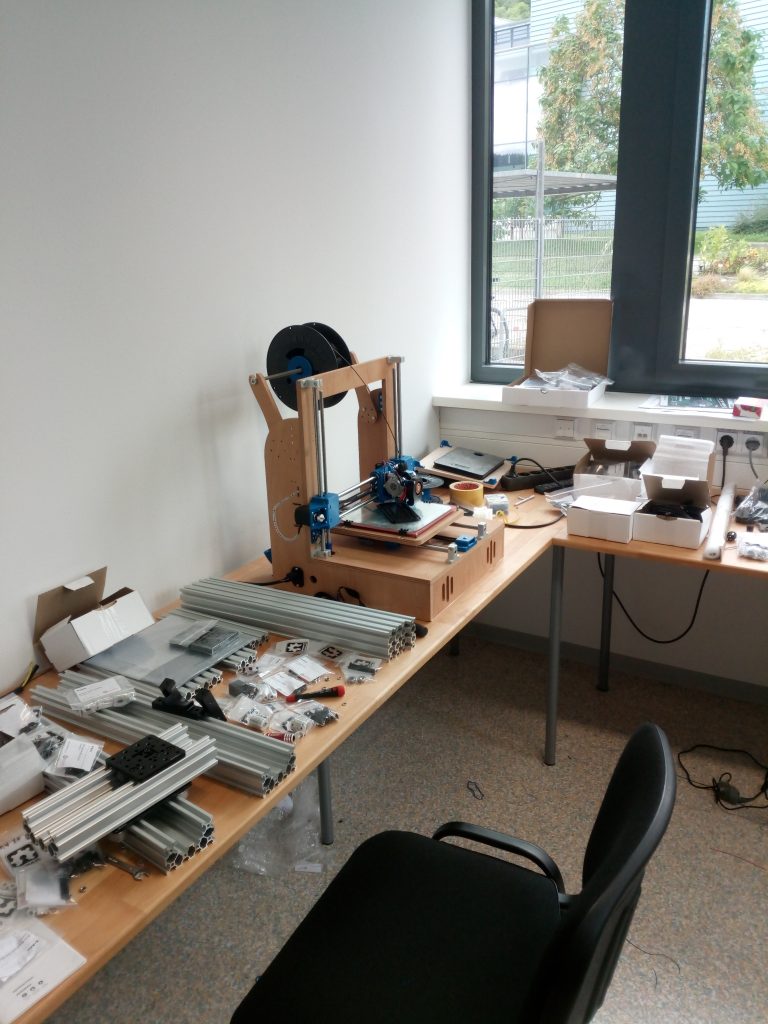
Ready for assembly 🙂

MPCNC- solved drilling issue

Surprise! I had a common chip clearance problem. I considered this as a cause from the beginning and also got some tips from the vicious1..com forum. I milled two complete sets of 3D-printer frames without problems so I couldn´t  believe that this was really the cause.

I drew a test pattern and managed to get it right with an additional ,5mm helical drilling movement. That seems enough for the chips to clear the hole.

I don´t have that much time to get into those issues but the parts didn´t came out perfectly rectangular yet. I tried to manually adjust the stepper position before powering it up but thats still not enough to get the precision I need. I´m using all of the available travel so I´m getting quite a big error in the end.

I need to readjust the frame and the feet as well.

Building a MPCNC part2

So I spent some hours on weekends to advance further into my CNC adventure and it came out pretty satisfying.

img_20160916_170838

Simple CNC stand

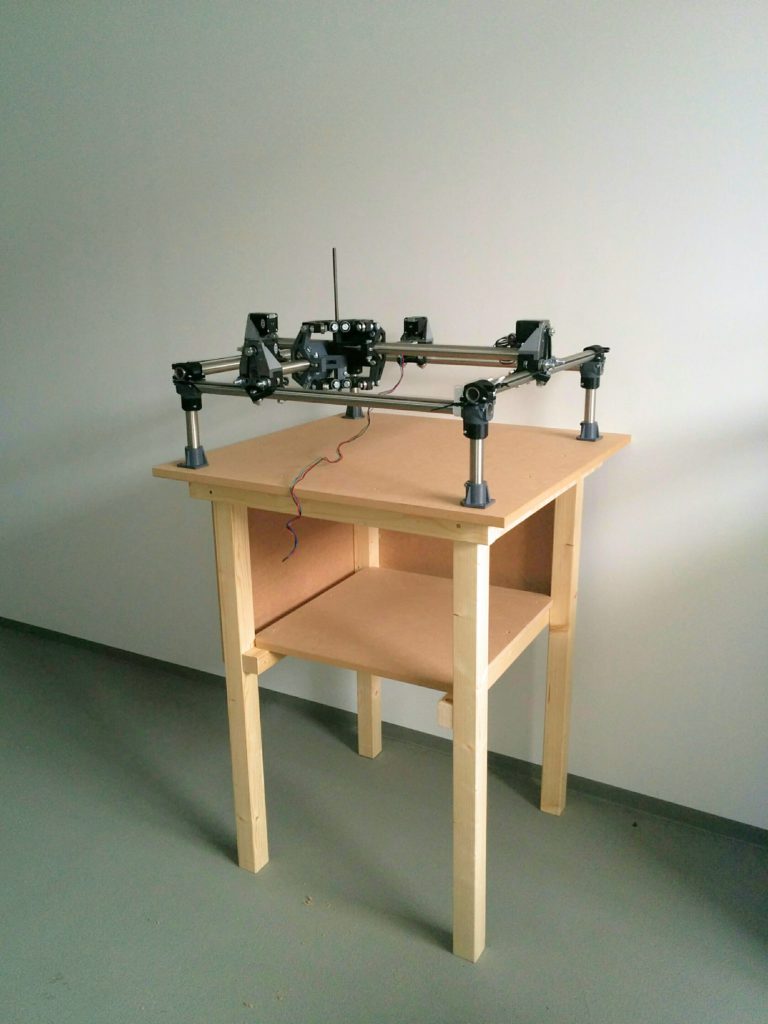
Before wiring everything together, I saw the need of a good platform, so I don´t have to wire it again once I found a suitable platform. It took around 6 hours to build this from standard „Baumarkt“ supplys.

img_20160922_1536352

I guided all six cables per axis down to the controller board. I wasn´t sure If I might change the controller board and thus the method of actuation later. I used 8 pole shielded datacable from Lapp Kabel. I added some endstops after I ordered the cables so I have to wire them seperetaly.

img_20160922_153656

Z Axis with Kress FME800 and a pink solid coupler

The M8 threaded rod wasn´t straight and wobbles badly so the Z Axis binds from time to time when running. I´m going to change that for a trapezoidal screw soon. The printed rigid coupler also starts to crack. I need a better part for this too.

Everything else works good so far. The Stepper drivers are getting a little hot but I got a small fan as a leftover from my Fabrikator mod that will be mounted on a 3d printed case or similar.

img_20160922_153710

Complete setup with vacuum and cablework done

Getting endmills and doing the first cut is the next target,